Blog

  • Visible Fermentation

    We’ve all heard this before: “Let the dough rise until it is double in size.” Well, how much is that?! When I look at a lump of dough, it is sometimes hard for me to remember how big it was originally… especially when it is in a rounded bowl.

    Notice these square containers permit visualizing the level of fermentation. And you can immediately see when it is double in size… or more! If you plan on getting a couple of these, keep in mind, if let unattended, it could easily triple in volume. So get one that is big enough for your needs!

    Posted by Picasa
  • Dough Containers

    These convenient food containers were selected for a couple of reasons:

    • They are food safe.
    • The lids keep in the moisture but they are not air-tight.
    • They are graduated for convenient reference.
    • Translucent to visualize rising activity.
    • Square footprint for more efficient storage.

    These containers are listed among other tools used for baking in the right-hand column of this page.

  • Steam Power! Part 2


    This is my second loaf using the steam pan method, putting the water in the pan after the dough is in the oven, as suggested; plus a refresher steam ten minutes later. This dough was never in the fridge so it was thoroughly at room temperature when it started baking. Plus, this dough was only about 33% whole wheat. Those factors all combined produced a much more buoyant loaf.

  • The Use of Non-Standard Measurements in Baking

    Following a mentality stimulating Skype session with John last night, I came to realize that some might not have understood my reference to a measurement in “US Buckets,” in a comment to Casey’s posting “Steam Power.” Further, since the US Bucket measurement is not in Wikipedia, the Gospel source of all information, let me explain.

    A bucket is a unit of volume, though it is considered generally informal. In the U.S., many commodities (both wet and dry) are sold in plastic buckets holding 5 U.S. liquid gallons (about 18.927 liters). Now that I live in Texas, which is a big state and we know that everything in Texas is big, it makes perfect since to use large, very large, measuring devices. If my kitchen could accommodate a barge, which is equivalent to 1.34E+08 ounces, living in Texas, I would have defaulted to that.

    Since I have no scruples, let me continue. Since this blog is beginning to generate numerous postings, I believe it will not be long until it goes international. Thus understanding other units of measurements are important. For instance, if a Brit said he used 96 scrulpes of water to increase the atmospheric moisture level in his over, for baking bread, of course, then we should understand that that is equivalent to 4 ounces of water.

    3 fluid scruples= 1 fluid drachm= 60 minims
    8 fluid drachm= 1 fluid ounce

    I hope this has clarified my use of the measurement US Bucket and tonight while I am talking about technical interests with my friend John, I will be enjoying 4 gills of beer.

  • Steam power!


    I baked my second loaf using the oven stone this morning, and as I was getting ready to put the dough in the oven, I remembered Dad saying something about “misting the oven.” This is a step I haven’t taken before, and I’ve noticed a couple things.

    First, when I’ve made loaves in the dutch oven – which helps retain more humidity around the loaf when you have the lid on for the first 2/3 of the bake – the resulting crust is…well, quite crusty (in a good way).

    When I’ve made loaves without the dutch oven, either cooking them on a baking sheet or on the oven stone, the crust is much thinner and softer.

    So I thought, perhaps this “misting” step is important for the crusty crust.

    I didn’t have a mister, but looking in Peter Reinhart’s “Artisan Breads Every Day,” I found the author suggested one can also use a “steam pan” to add humidity to the oven. He recommends adding hot water to a pre-heated steam pan (below the oven stone – be careful not to spill water on the stone) just before putting the dough in the oven.

    Since I was in a hurry, and not reading the directions that carefully (like, how much water?) I put cold water into a baking sheet that just happened to be pre-heated under my stone (lucky break, I often store pans in the oven for lack of cupboard space). It created quite a blast of steam and warped the pan so much I thought I might have a spill. (A little more water and the pan un-warped). Then I closed the door and waited another five minutes or so before putting the dough in (should I have done it right away when there was more steam?)

    The bread that finally came out was indeed more crusty – somewhere between the dutch-oven bread and the no-steam/no-dutch-oven bread. Also, I had to let the surface get quite dark before the internal bread temp finally crested 180 with ease – when I put the thermometer in the first time, the dial virtually crawled from 175 to 180.

    After cooling, I cut into the first couple inches. Crust aside, the inside looked good. A bit more dense, particularly toward the bottom, but this was a 50/50 whole wheat dough. I’ll add some pictures soon.

  • Fibrament Baking Stone

    One of the principles of artisan baking is to have a hot oven. Most ovens do not exceed 550 degrees and that is good for most of the loaves I’ve been baking. For thinner bread products, such as pizzas, pitas or focaccias, it would be better to have even a hotter oven, if you can get it. However the ordinary home oven, even pretty expensive ones, are not going to get you there.

    So, what to do? One option is to install a wood burning oven in your kitchen or back yard. No matter how you slice it (excuse the pun…) that is expensive, if not impossible in many situations. But with that type of oven you can get temps in excess of seven or eight hundred degrees.

    For those thin products, you also have the option of baking on a grill which, by the way, is a lot of fun. Some grills can approach those temperatures. But, again, that isn’t often the best of solutions for a number of reasons.

    So, the next best thing to getting to those temperatures, is to retain the maximum temperature for as long as you can. The key to that is to have a large thermal mass to hold that heat in the oven as you open and close the door. For this reason, you’ll see a lot of baking stones sold in places such as Bed, Bath, and Beyond. Most of these are round and just a little bigger than a pizza, and frankly not all that thick (low thermal mass).

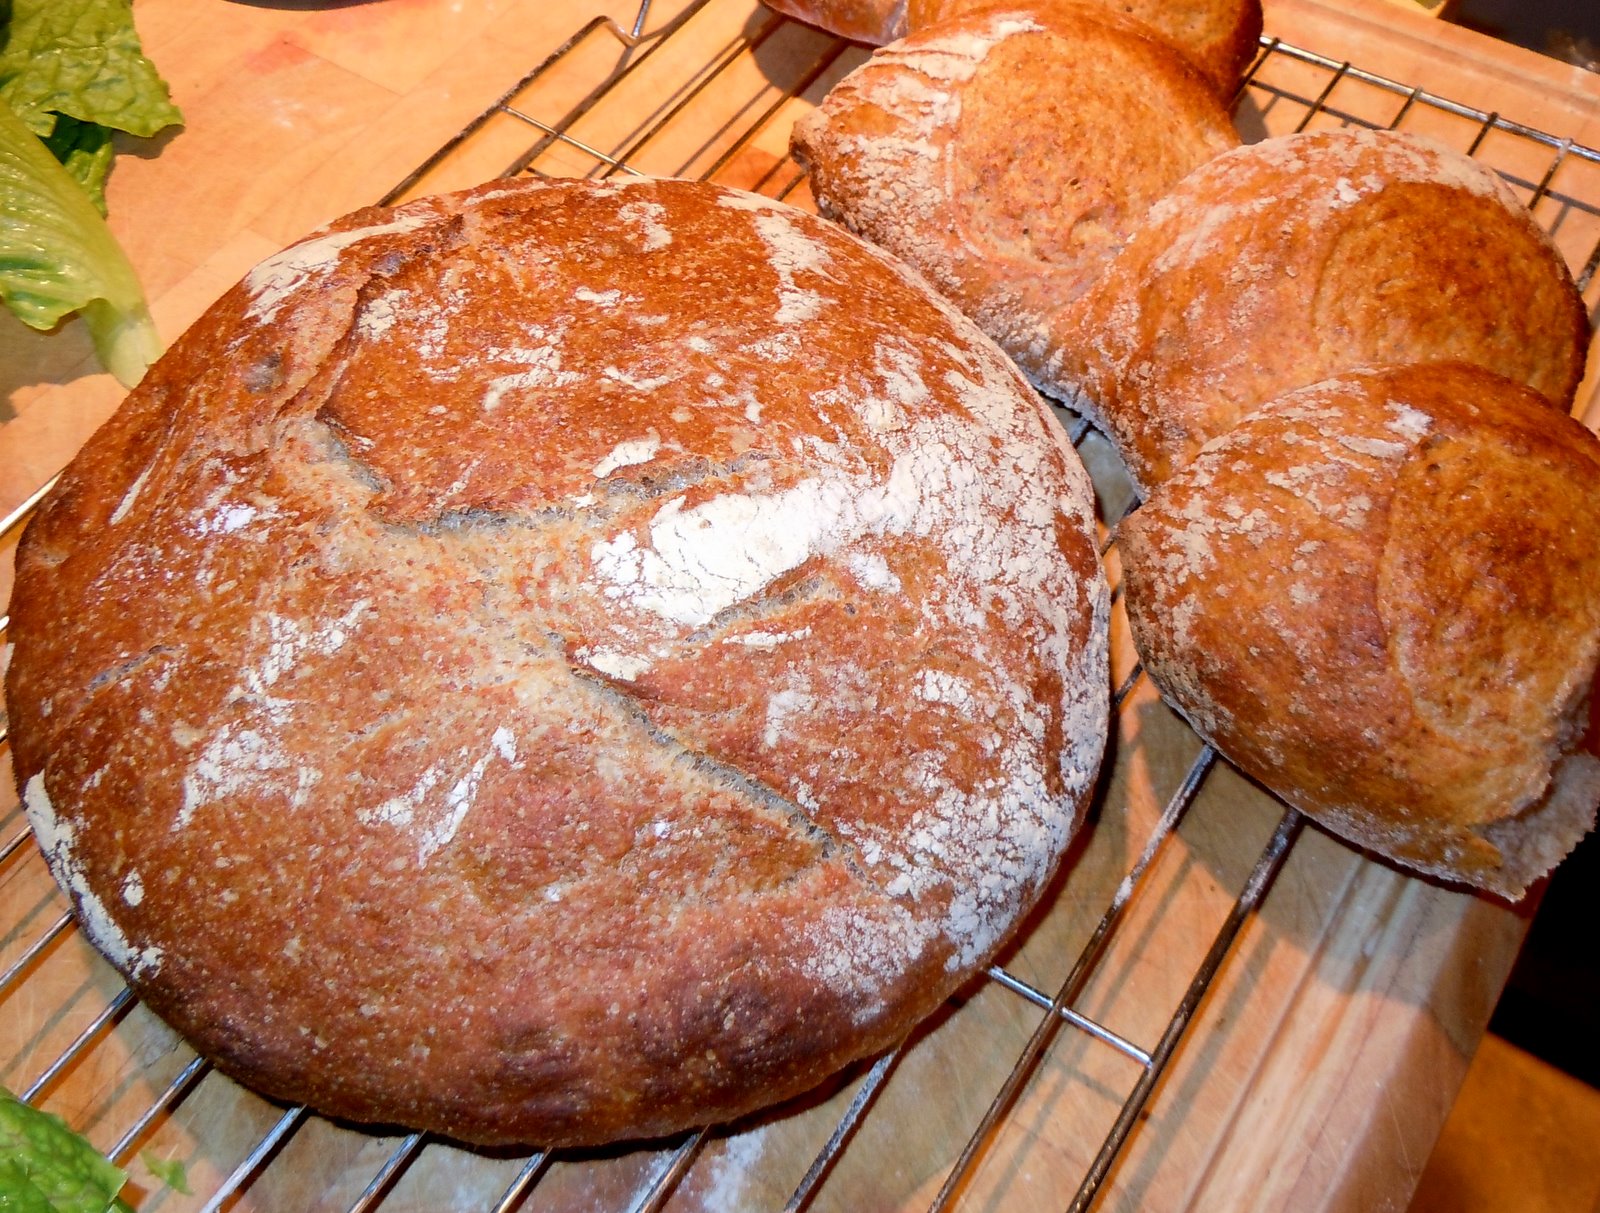
    So, here is the stone to beat all stones for home (or commercial) ovens. I bought one of these a few months ago, and have since purchased them for some of my baking friends. Wow, major heat retention! Each stone is 3/4 inches thick and if you get one sized right for your oven, you should be able to bake a 2 or 3 loaves at a time. You can leave it in the oven nearly all the time (I have left it in during the cleaning cycle, because I forgot to take it out. But I’ll probably take it out in the future. The manufacturer says you can leave it in the oven with certain cautions.)

    Make SURE you understand what size to get before you order it. The one I got is $70, but MEASURE before you order.

    I’ll be buying a new oven soon, probably this week as a result of a kitchen remodel, and I’ll be getting another one of these for the second oven (double wall oven). And one of these days, I’ll get one for the gas grill also.

    This is a good product. Shipping is included and arrives generally within the week.
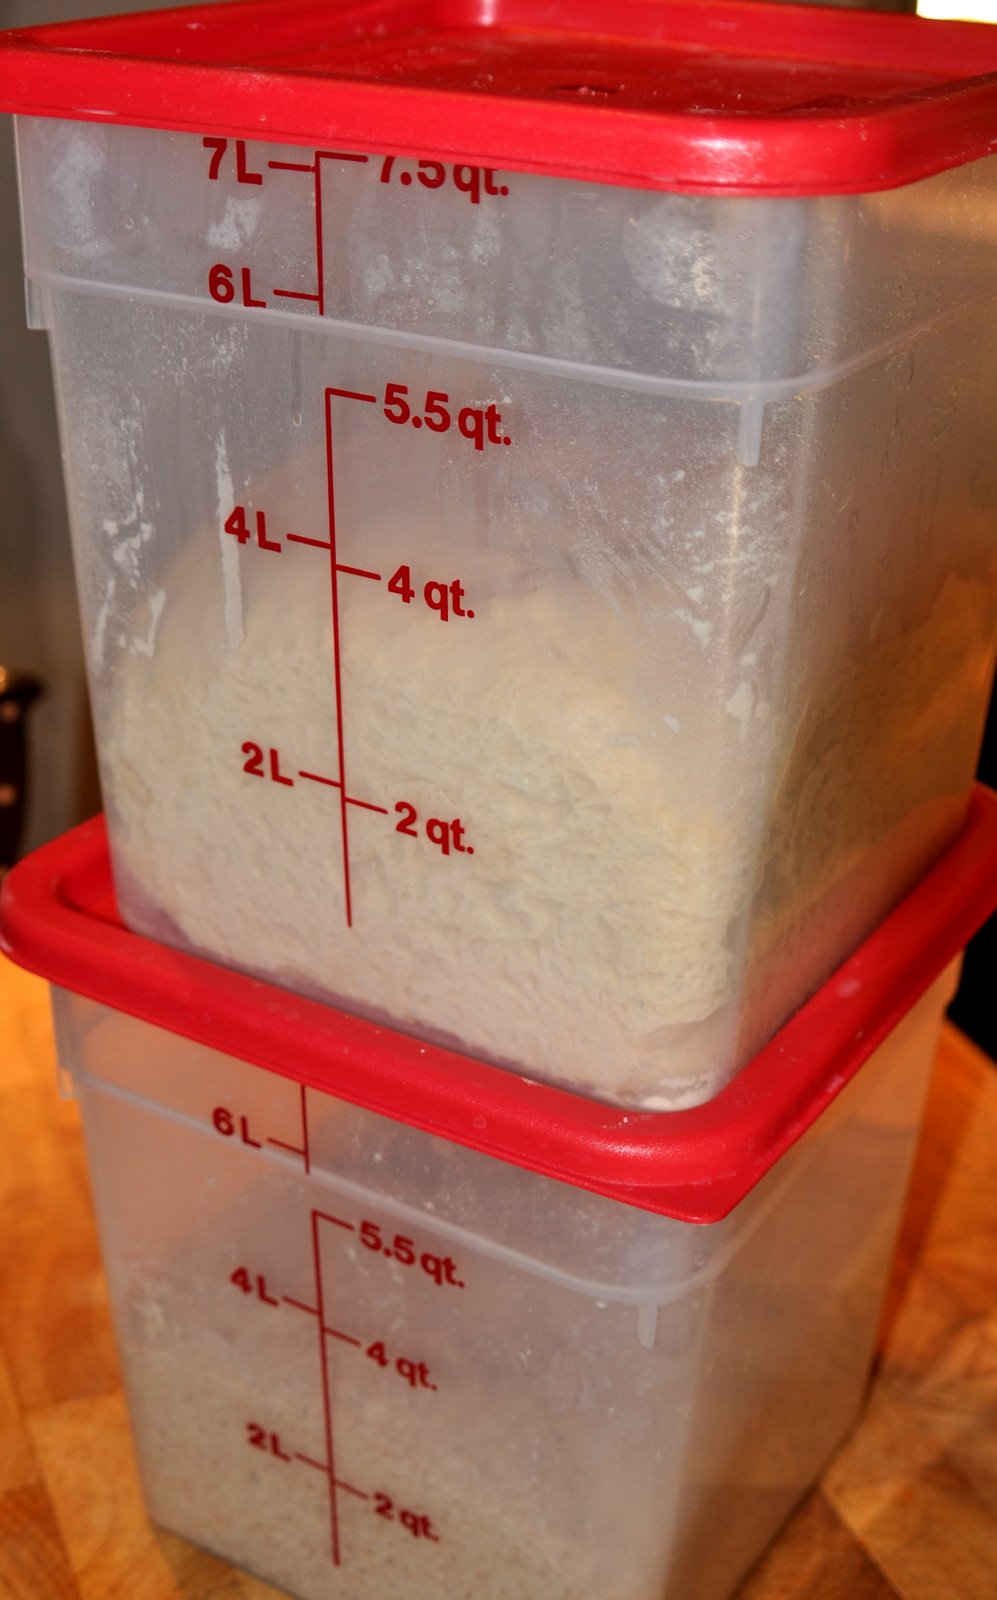
  • Straight from the oven, daddy-o…


    Made the bread pictured here this morning from all-white dough that I’d had in the fridge for a day. 70% hydration.

    Proofed at room temperature for about two hours on lightly oiled parchment paper.

    Slid parchment paper right onto inverted aluminum baking sheet in the oven and baked at 500 degrees for 25 minutes.

    Cooled for 1/2 hour before cutting.

    Final result – nice chewy/creamy texture with large crumb and some good holes. Very soft, but not doughy at all. Thin, soft, well browned crust. Not as crusty as dutch oven loaves I’ve made, but very good nonetheless.

  • Notes On Flour

    As I have stated in previous posts, the flour I’ve been using is from Costco. It is:

    1. Unbleached
    2. High in fiber (a large percentage of whole wheat)
    3. Inexpensive
    4. Bakes into a nice loaf
    5. Tastes good
    So, what is this mysterious flour? It is called “Eagle Mills” which is manufactured with a specially ground flour (extra fine whole wheat) called Ultragrain®. You can learn more about it at this website, including where to buy it. Costco has it packaged in two 10 lb bags.
     
  • Methods from Jeff Hertzberg and Zoë François

    Here is some information worthy of a repost. I have their bread book. They also have a number of YouTube videos. This one is from Mother Earth News.

  • New Cast Iron Pot Baking

    I tried a couple new tricks with this batch. First, I bought a new cast iron dutch oven the other day, and I’ve been dying to try it out. I believe it is a new model in the Lodge line-up. It has a lid that doubles as a skillet. I got the 5 quart model from Amazon.

    Second, I used 500 grams of my standard Costco flour and 500 grams of Hodgson Mill Organic Whole Wheat less the 1/3 cup of Bob’s Red Mill Vital Wheat Gluten that I added to make 1 kilogram total, with a 75% hydration. The Vital Wheat Gluten is often recommended for course whole wheat flours to help hold in the gases during fermentation. I didn’t do the window pane test, but will next time. I’d like to try this VWG for pizza dough.

    I made the dough right after work yesterday and let it set on the counter, covered in a plastic container. I heated up the oven this morning around 3 AM and baked the boule first at 475 (convection) in the pot and after 20 minutes removed it for browning. It didn’t rise as much as I expected. I haven’t cut into it yet, but I’m sure it will be good. But could be better. I may use more dough next time. This was roughly half of the whole batch.

    I formed the epi last, and it had more time to rise. It came out fantastic. I had a hunk of it for breakfast with a second cup of coffeee. The picture only shows about half of it. I used the rest of it for sandwiches for lunch. Is it noon yet?

    Posted by Picasa