Category: Sourdough
-
Victorian Bread Baking
This is how they did things back in the day!
-
The Rise of Sourdough Bread from CNBC
I found this video to be informative. I can’t attest to its veracity, but it does make some sense. I do know that yeast is getting hard to come by in these covid-19 times. You might think about sourdough as a replacement for your regular bread baking activities., not to mention the great flavor. I’ll be contacting my gluten-free friends to see what they think about digestability.
-
Make Bread: The Ol’ Fashioned Way
No electricity. No scales. No mixer. Just years of tradition. (I do have a question about 20 g of salt…) Simple. Delicious. Try it!
-
And a Sourdough Bread Sandwich!
You’re supposed to wait for the bread to completely cool before eating. Yeah, sure. That works… This was a damn good sandwich.
So was the next one…

-
Sourdough Loaves
A couple of weeks ago I signed up for a Sourdough Bread class taught by Richard Miscovich with Craftsy. His technique is very similar to other bakers that I follow. I needed a refresher, the course was on sale, and in my view, it’s about the same price as a decent book. By the way, if you sign up for a Craftsy course, the content doesn’t expire. So, you can watch it over again as often as you please. The instructors also respond to your questions. It’s a pretty good program.

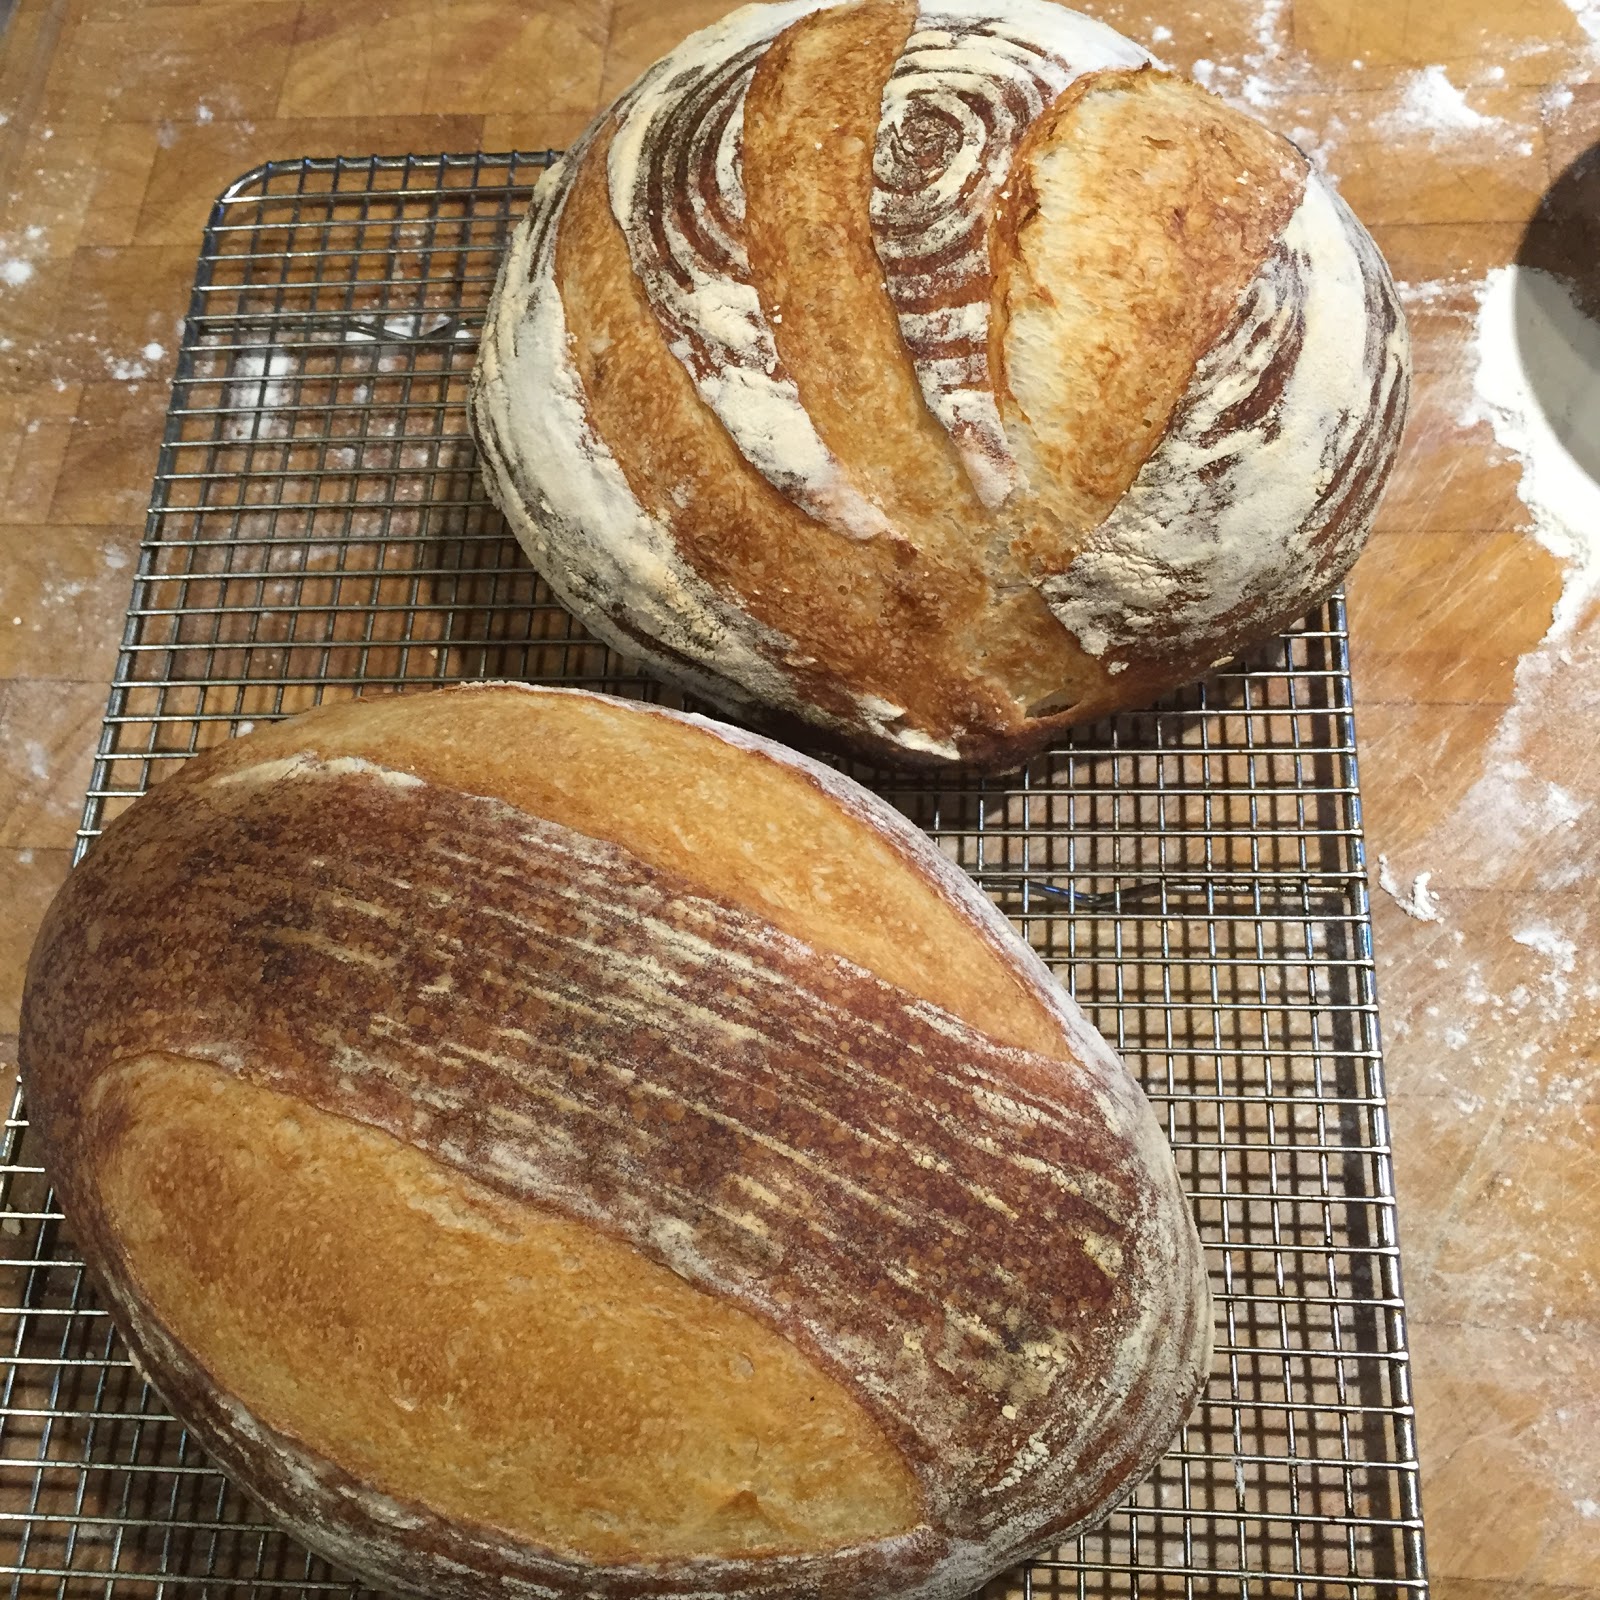
Two Loaves of Sourdough Bread So, I’ve been nurturing this sourdough starter for a few weeks, and yesterday I determined that it was about ready. Today I baked two loaves and I’m pleased with the result. The loaf at the top of the picture was baked at 450 for about 30 minutes, the first 20 minutes under a preheated inverted dutch oven on a baking stone. The dutch oven helps maintain a moist environment. The bottom loaf was baked open at 450 for 20 minutes, temperature reduced to 350 for another 10.
Both loaves went through their final rise in bannetons.
One important lesson I’ve learned is the value of the twenty minute autolyse before the salt is added.
There are YouTube videos on how this process works also, not to mention a slew of bread books.
-
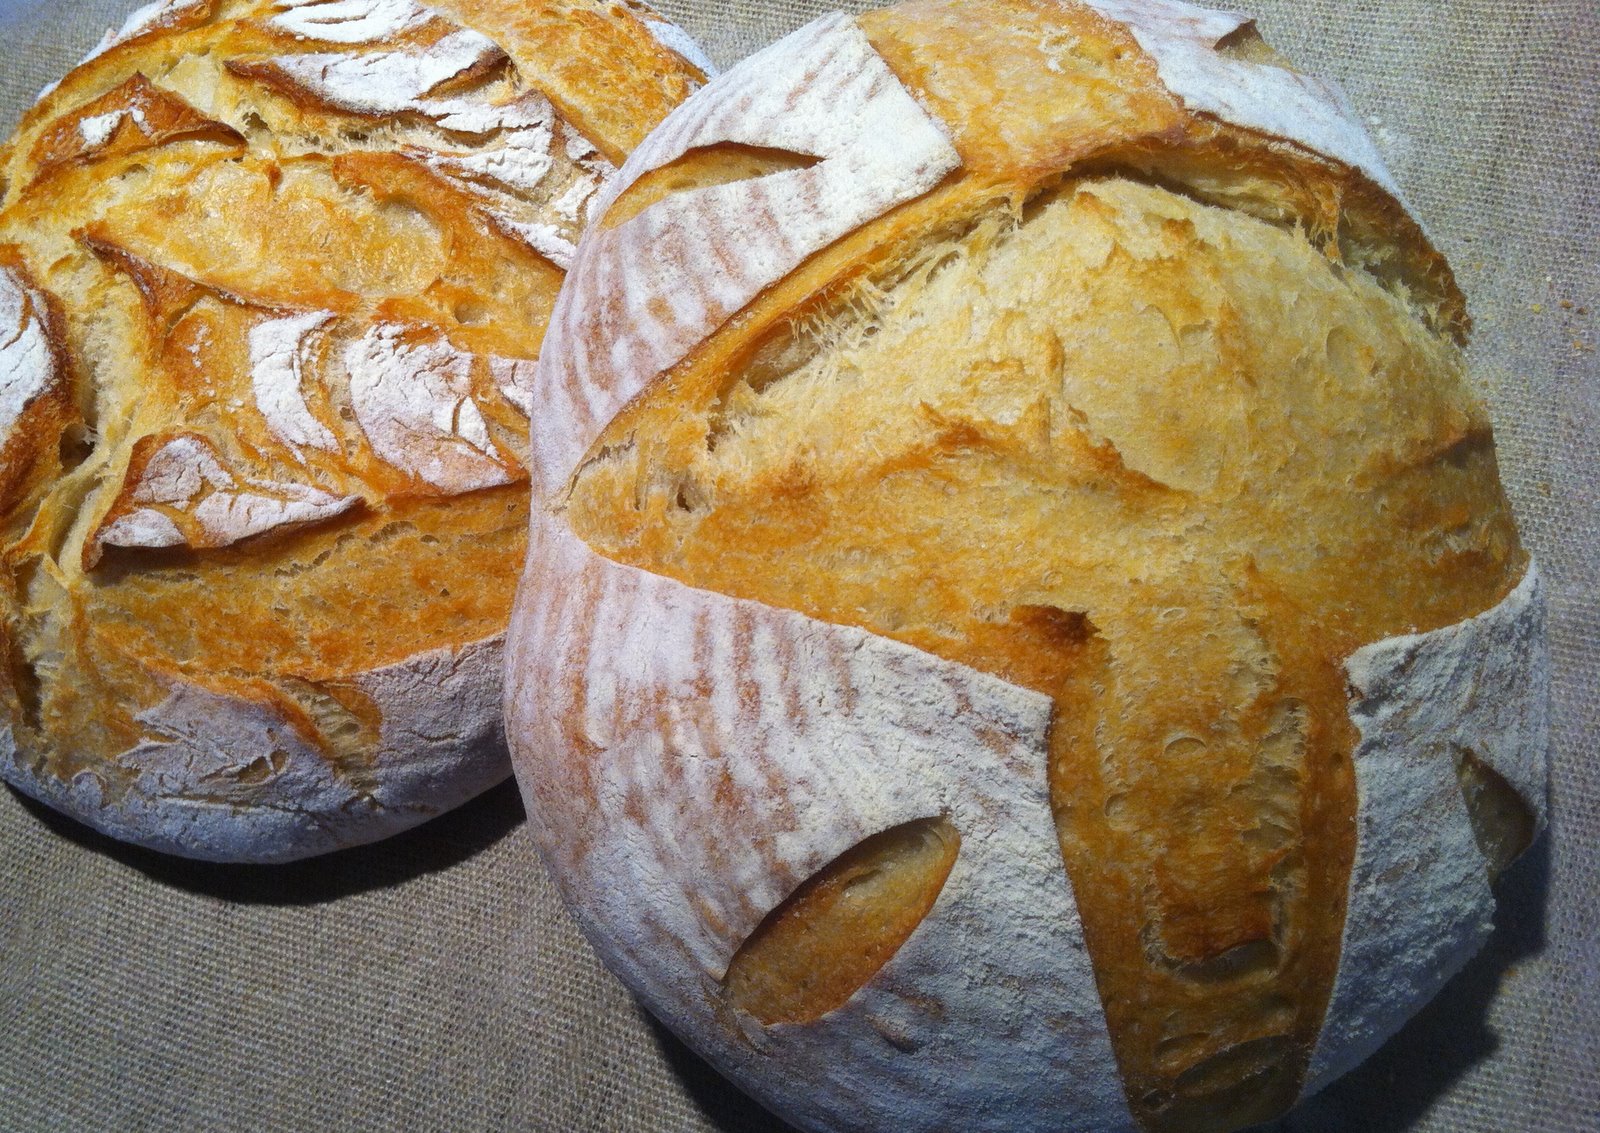
Sourdough Boules
Today’s baking involved using two slightly different techniques. The boule on the left was baked using the Lahey method of placing it in a cast iron dutch oven, a half hour at 475 with another few minutes with the lid off to achieve just the right color. The loaf on the right had a second rise in a floured banneton and then baked directly on a stone. I used an inverted cast iron dutch oven as a cover and baked at the same time and temperature, 475 for a half hour. No additional time was necessary for browning. The internal temp was 200+ at the finish.
Here is my dough mix:- 500 grams of sourdough starter
- 750+ grams of flour (unbleached King Arthur)
- 400 grams of warm water
- 23 grams of salt
- 1/2 teaspoon Instant Yeast
My initial mix was a little to wet. I added about a handful more of flour until it didn’t stick to my hands and then kneaded by hand on a wooden chopping block for about another 8 minutes. Putting it into a covered glass bowl, in a little more than an hour, it had doubled in size.Next, I scaled the dough into the two loaves you see here. (that should be about 870 grams each).The bread was delicious and it will be great to have through the coming week. The next time, I plan to age my sourdough a little more, and/or use more of it. Though, I’m quite happy with today’s result.Tomorrow – sourdough waffles!Stay tuned!
-
Plan Ahead With Large Bowls
 In preparation for today’s bread baking, I doubled my sourdough starter last night before heading up to bed. The picture at the right illustrates what I found this morning before coffee! It was covered with plastic wrap and didn’t make a mess, but it was close!So, remember to use a bowl big enough to contain whatever may happen during the night!
 -
Sourdough Pancakes
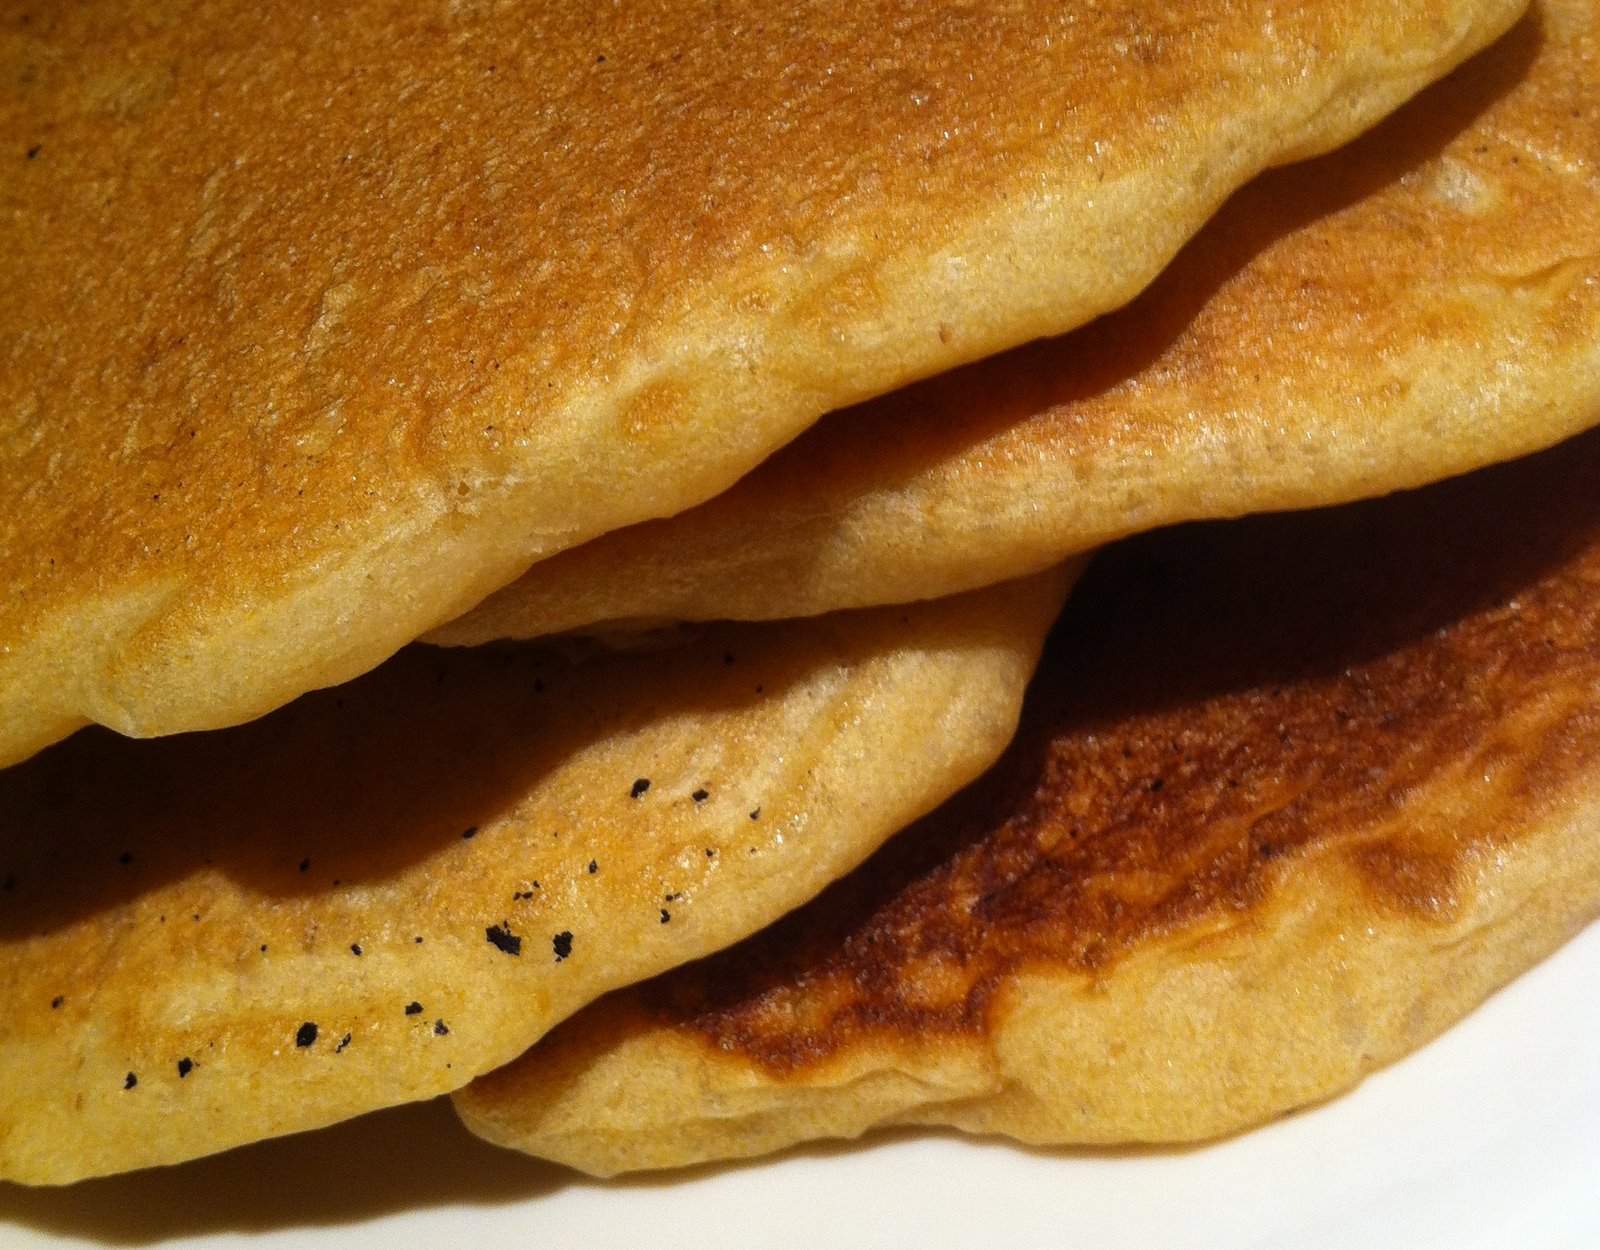
Those of you that have been keeping up know that I’ve been cultivating a sourdough starter now for the better part of two weeks. This morning, I made my first recipe, sourdough pancakes. And they were fantastic.
I’d have to say that I’ve been a little nervous about this. I’ve been making scratch pancakes for years, and usually they come out pretty darn good. So, this radical departure from my successful method had me a little worried.
First of all, the starter is a mass of flour and water that bubbles quite vigorously. You keep this stuff in the frig until you’re ready to use it. Then take it out and through the magic of time and patience, along with another bunch of water and flour, eventually you end up with the foundation of a batter. You then add the other standard pancake ingredients like eggs (in my case, I used “flax eggs” – more on that later), sugar, salt, oil, milk (I used almond milk) and baking soda – pretty much in standard amounts. Mix all this stuff together to get your batter. Cook in a 400 degree cast iron frying pan.
 The initial pancakes didn’t come out very round; the batter was very gloppy and glutenous. But even the first one came out just great. They have more texture, and less cakey than traditional pancakes. Almost, dare I use the word, spongey? Almost the consistency of a fresh sponge cake.
The “flax eggs” I used were made from Bob’s Red Mills Golden Flax Seeds. They were milled in a coffee grinder (mini food processor) to a near powder and mixed with water, then refrigerated. This is the first time I’ve used this method and it not only worked well as a substitute for eggs (and very healthy) but also added a nice flavor, kind of nutty.
I’ve some of the pancakes in the freezer that should warm up nicely some morning in the future.
Now for some sourdough bread! More later…


