So, here it is. By the way, I used unbleached all purpose flour in these loaves. It is a softer, less chewy loaf than results from using bread flour. And just to reiterate, I used no oil in the pot (or recipe, for that matter) at all.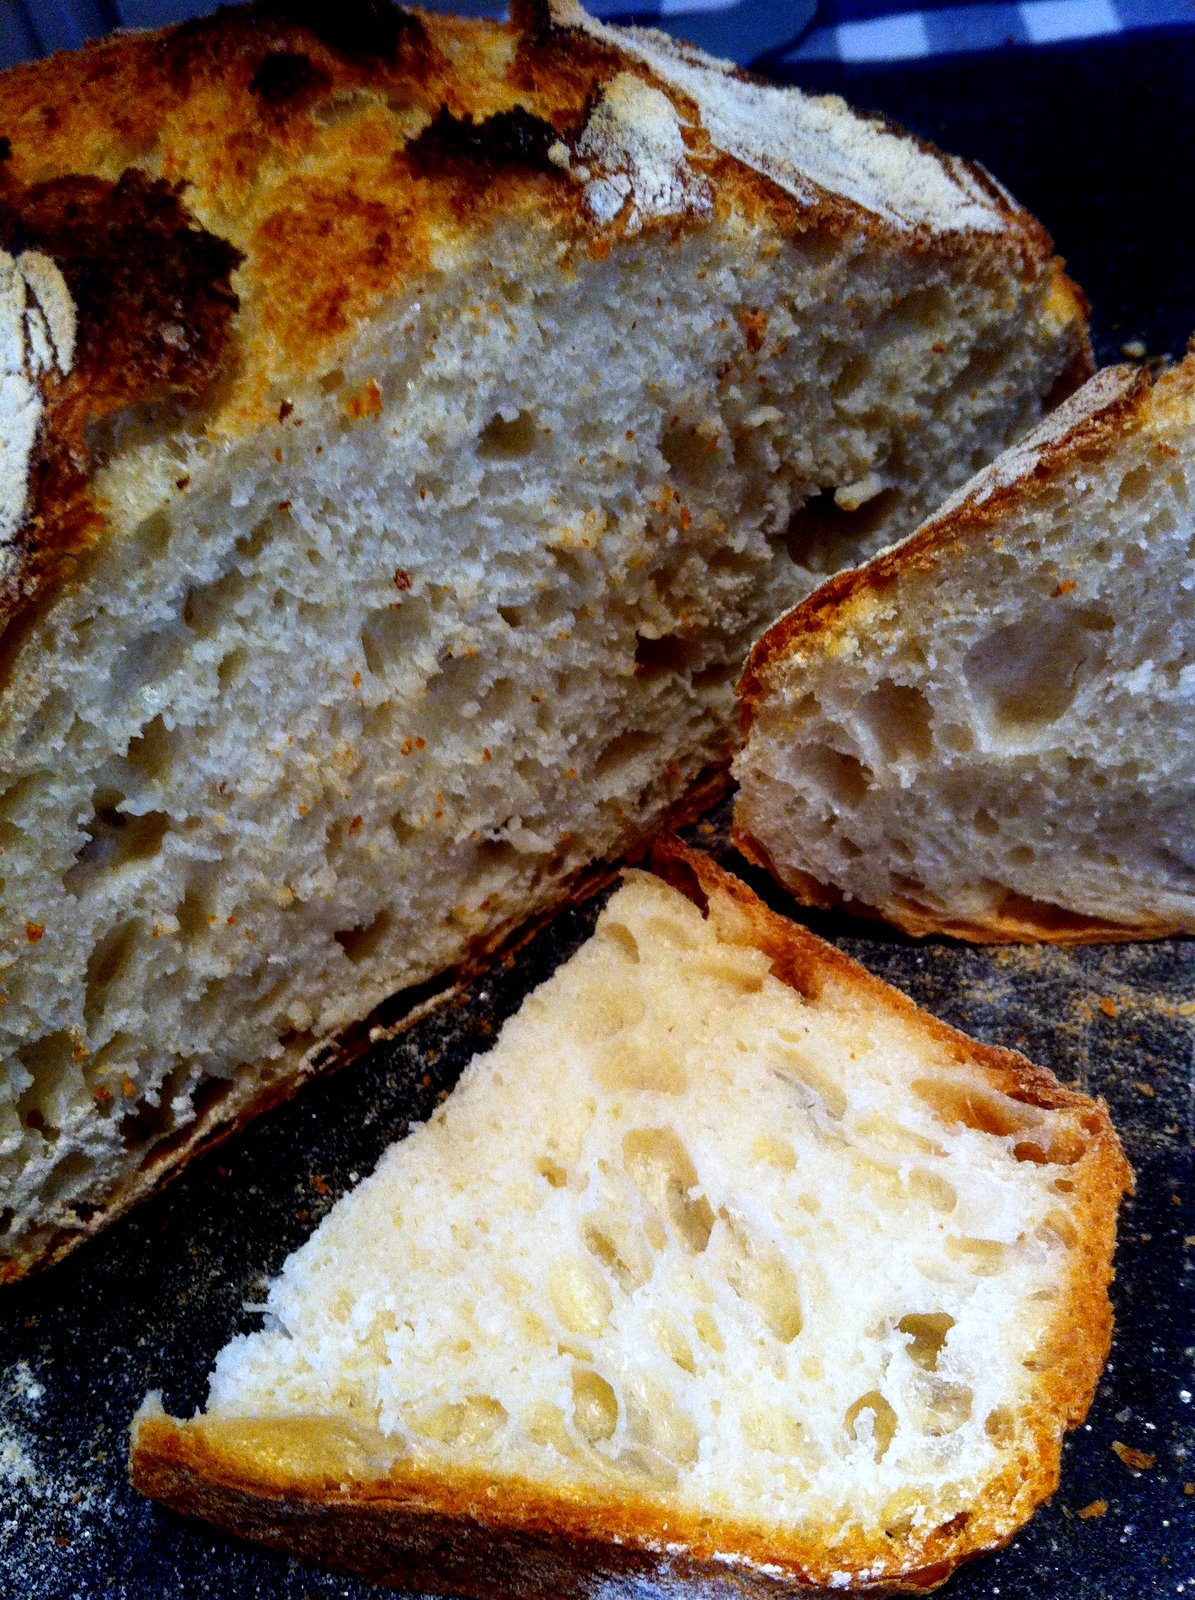

So, here it is. By the way, I used unbleached all purpose flour in these loaves. It is a softer, less chewy loaf than results from using bread flour. And just to reiterate, I used no oil in the pot (or recipe, for that matter) at all.
 I discussed a few bread baking tips with my sister, Sunny, today and decided I’d actually test some of these great tips to see if they work! It has been quite some time since I’d tried the Jim Lahey method of baking bread in a cast iron Dutch oven. Somehow, I’ve never been too attracted to the idea; maybe it is just too simple. So, using the Lahey-Bittman method of a quick rise (using a few drops of red wine vinegar in the dough), I began the dough this morning and just finished baking my first loaf. It looks great! I have another in the oven. I’ll be cutting into this shortly, but have no fear that it didn’t come out just as Jim said it would.
As Jim explained in the video, I used very little yeast, water at 120 F, with an initial rise of 3 hours. I used 1000 grams of flour with 750 grams of water and divided the dough into two loaves. (75% hydration…) My pot is fairly large. I used a 475 degree convection oven for the entire baking process. For the uncovered portion, the time was about 10 minutes, maybe less, probably accelerated by the convection oven. The inside temp was 200 at the end of the baking.

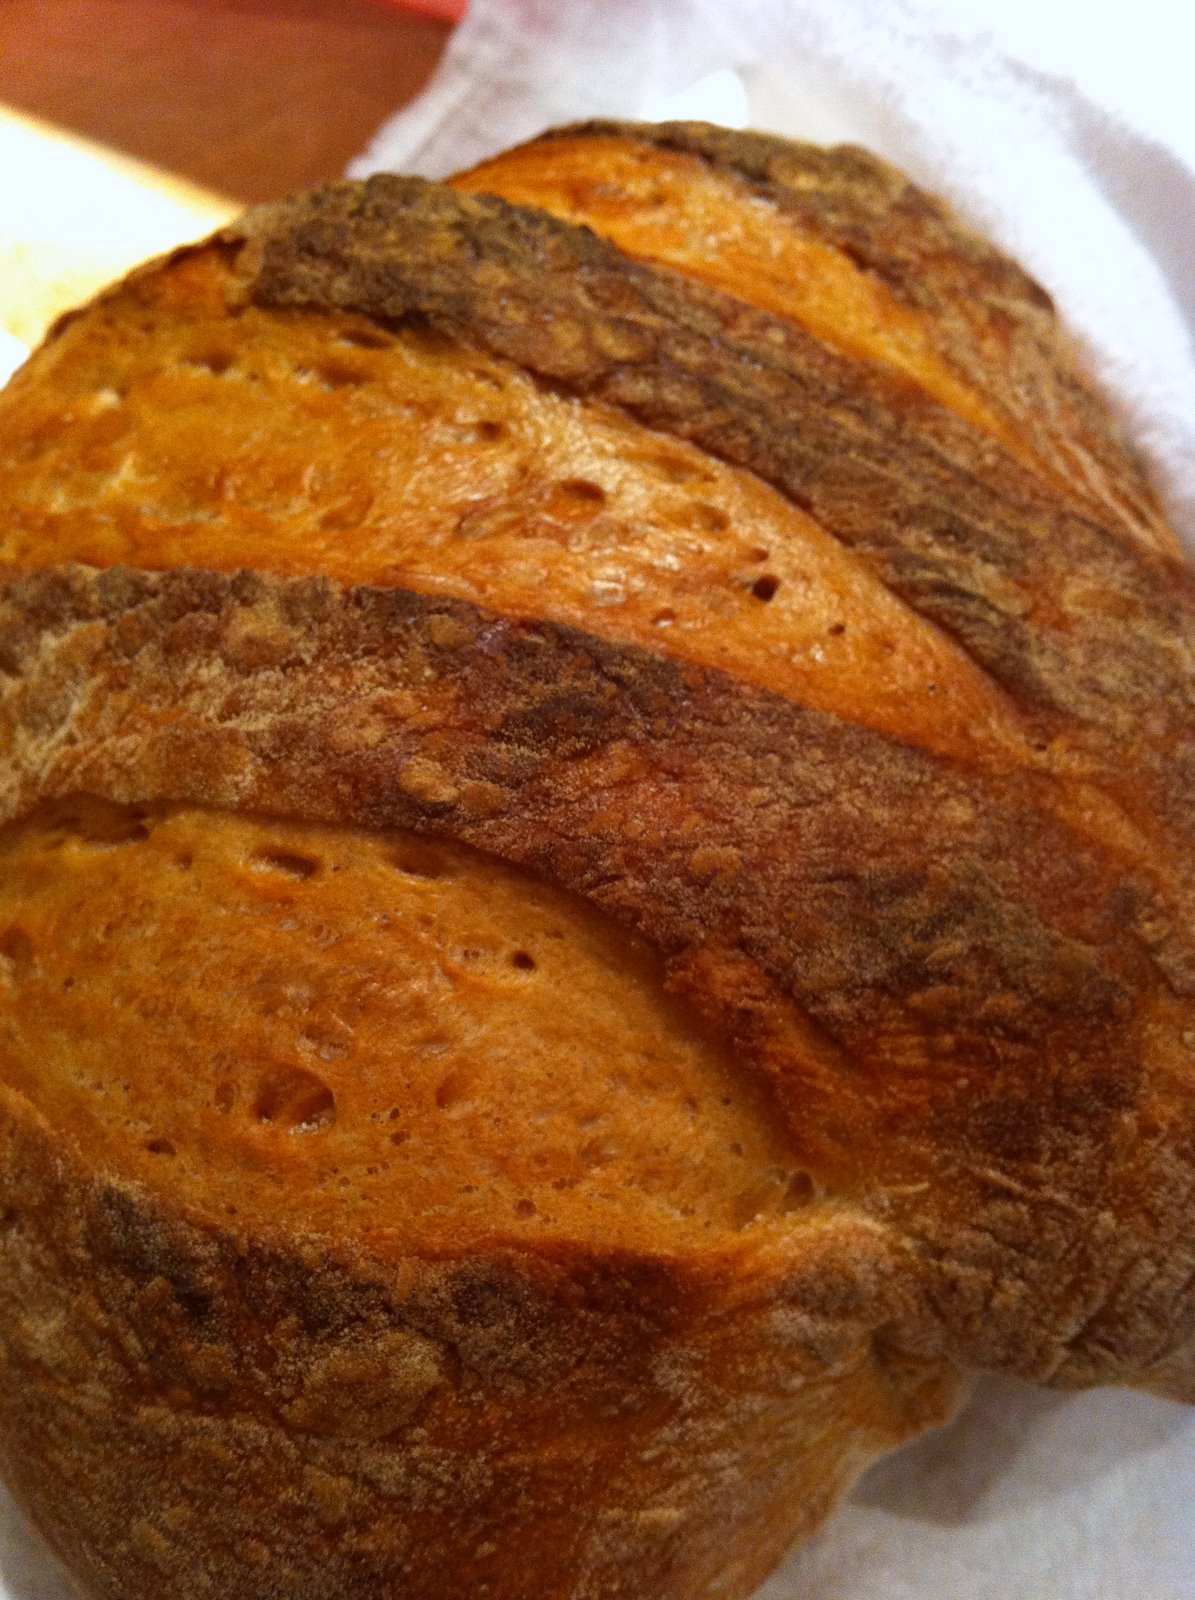
 This popped from the oven this morning after an overnight fermentation. The measurements were fairly approximate, but probably around a 72% hydration. These were baked at 550, reduced to 500 after the oven spring on, an pre-heated and insulated cookie sheet. Altogether, they look pretty good!
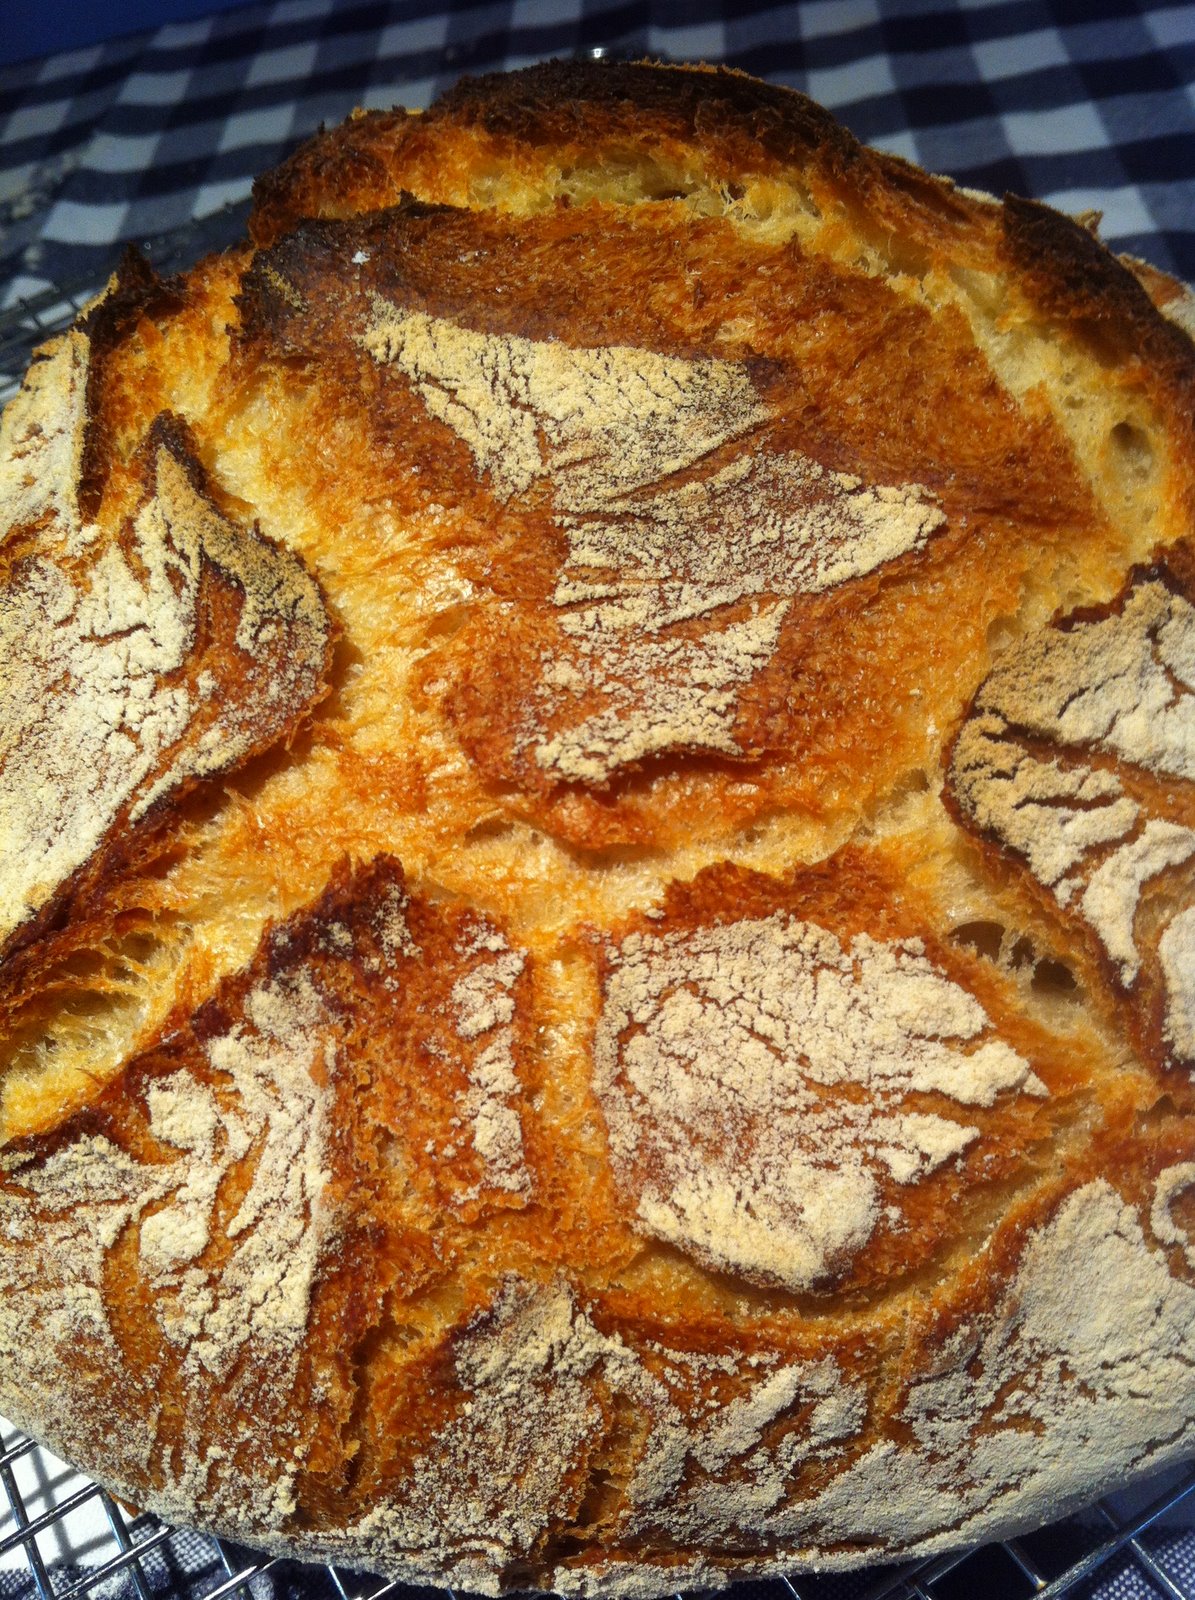
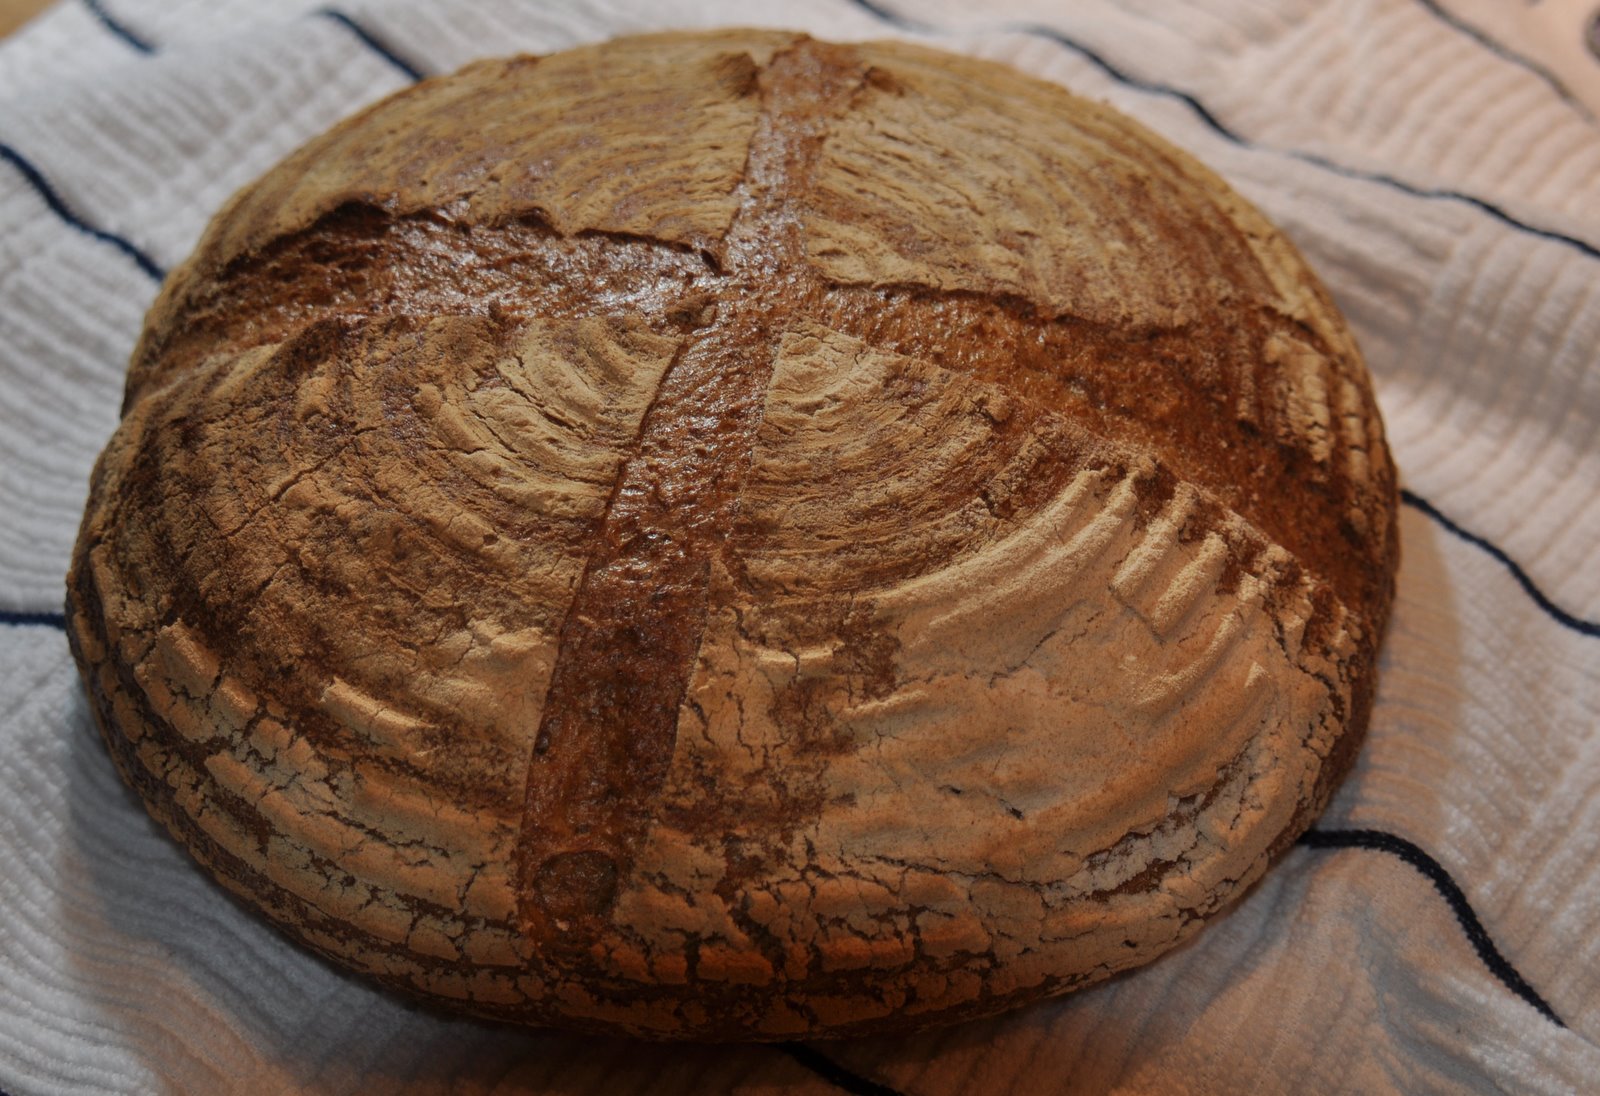
 This bread was made from a 75% hydration dough that was proofed approximately 24 hours at a cool room temperature (around 65 degrees). Not long before baking, I poured the dough out onto a floured surface and gently shaped it into a loaf by folding the sides underneath. With the oven pre-heated to 550, I slide it onto the hot stone and then scored the top with a sharp chef’s knife (to avoid degassing from too much handling and cutting.)
After the first few minutes, the oven was turned down to 450 for the remainder of the baking. Total bake time was probably around 40 minutes, but I didn’t measure it precisely. The internal temp was 195 at the finish.
This will be breakfast, along with fruit, coffee, and jam!
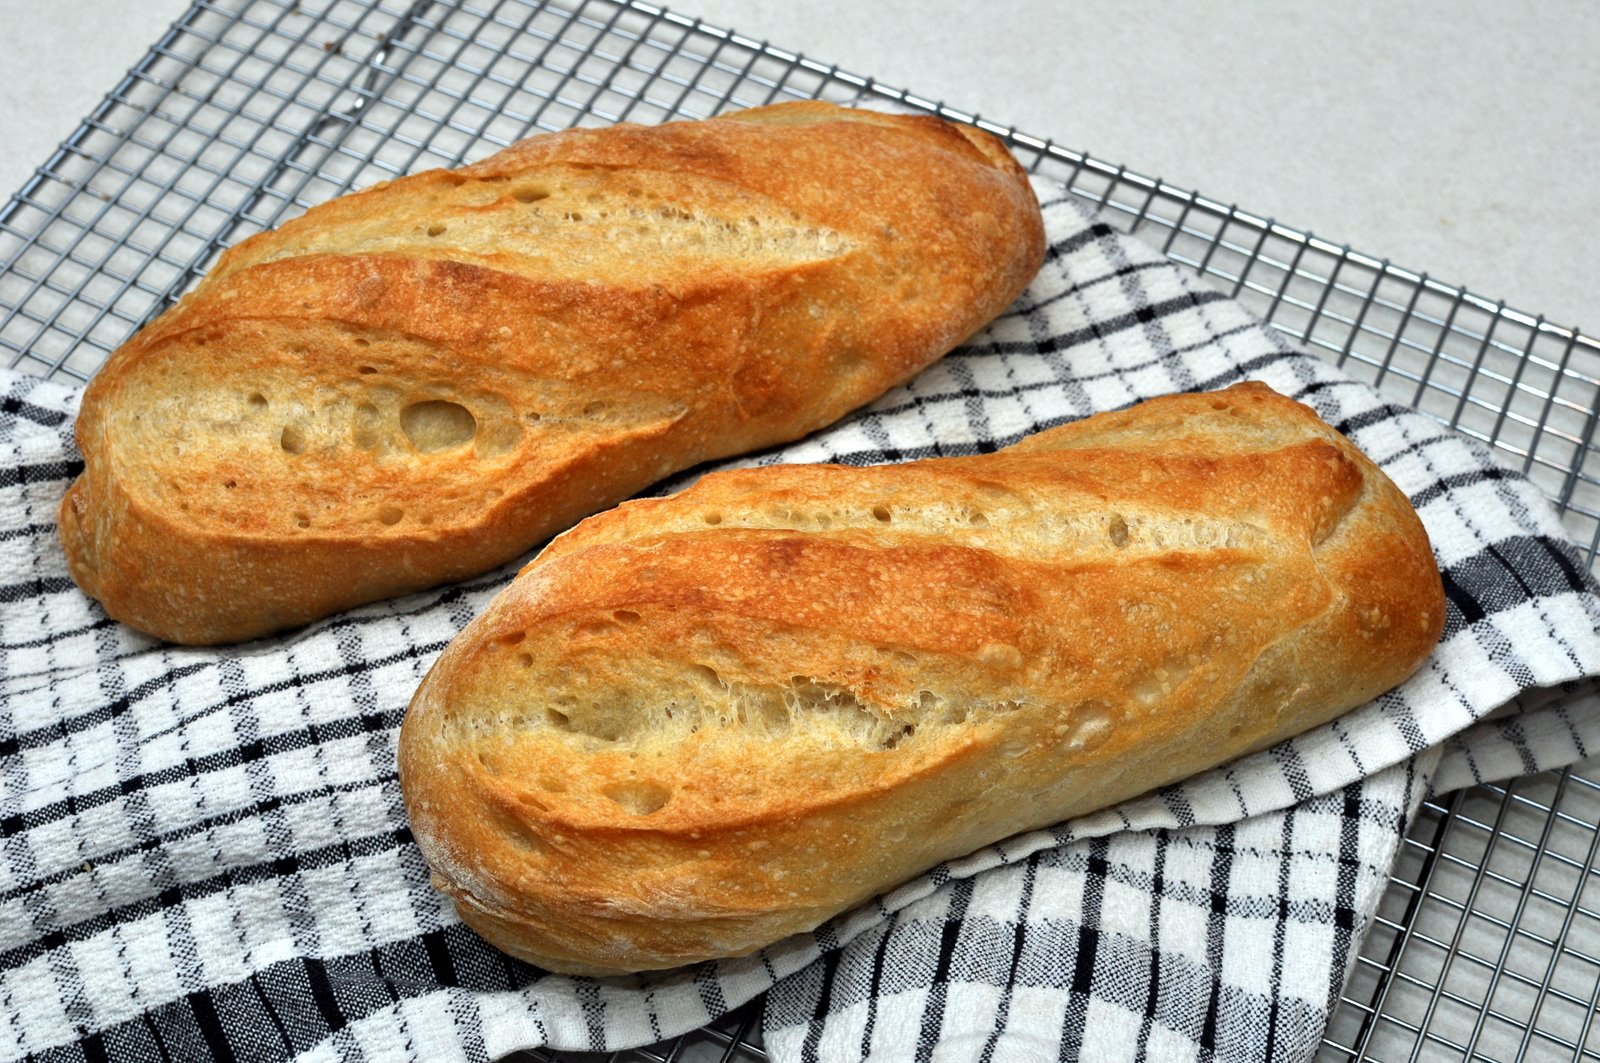
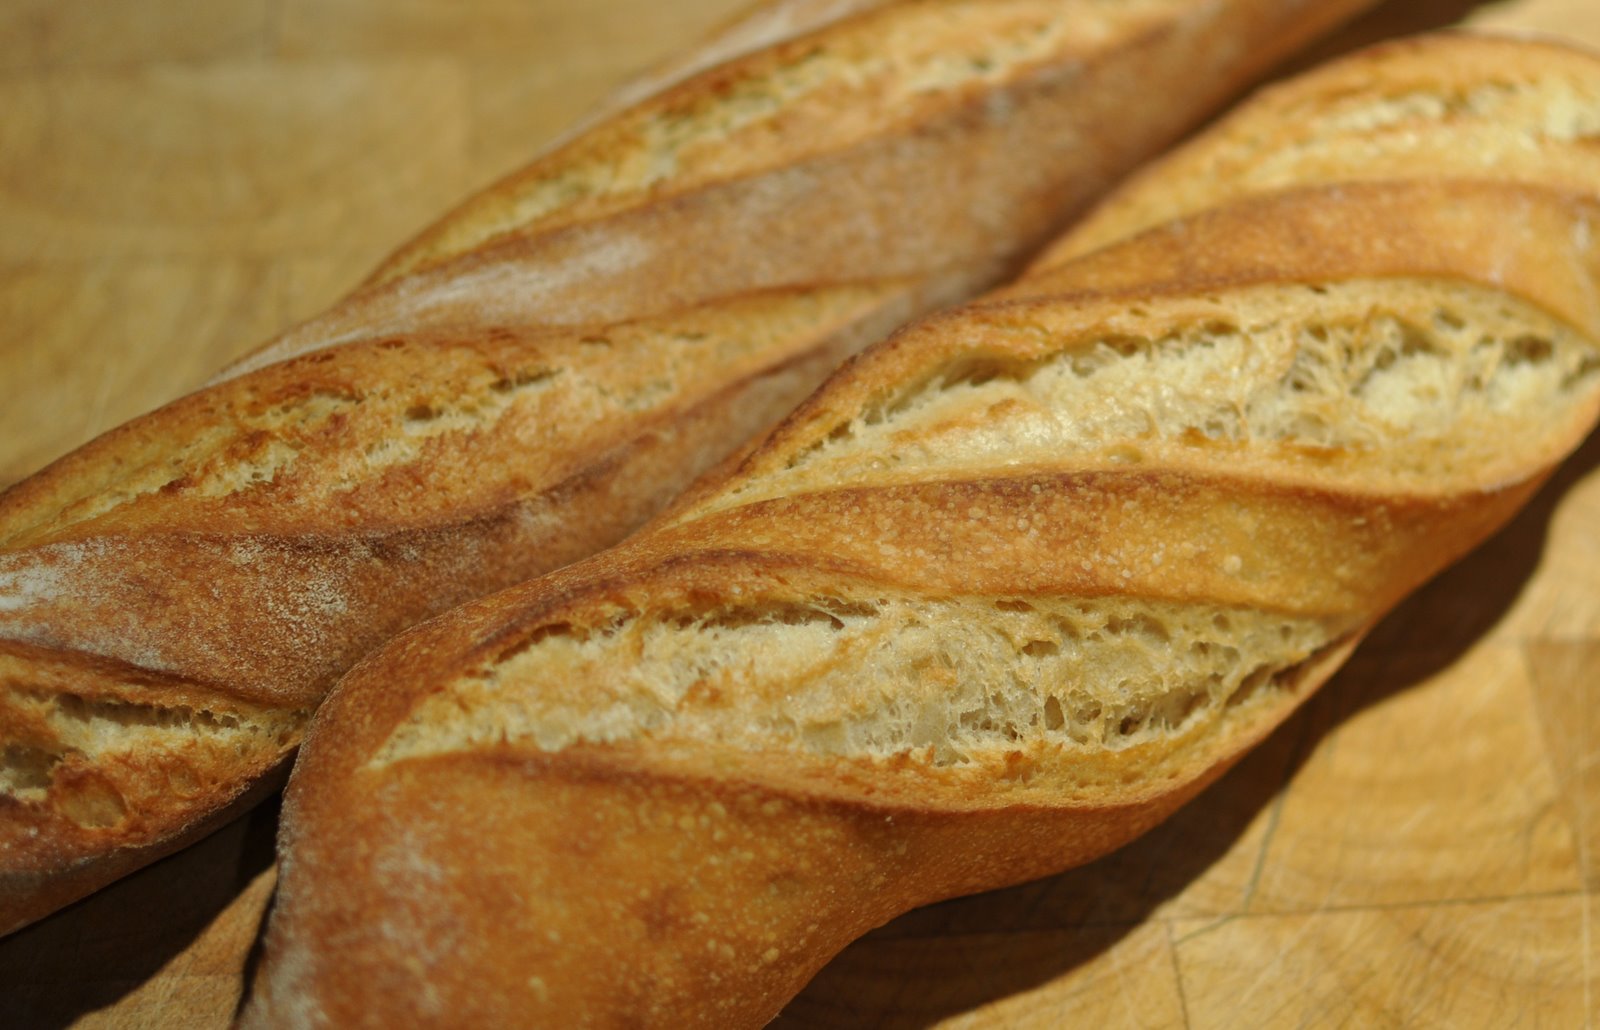 Here are a couple of loaves that just came from the oven this morning. I used 75% hydration and started with a poolish with 100% hydration, just flour and water of equal weights.
I used the Eagle Mills All Natural All-Purpose Unbleached Flour from Costco. Having recently baked with King Arthur Unbleached White, I had forgotten how much heavier this flour is. However, it delivers a wonderful (and healthy) loaf.
Good stuff!
 Once again, this morning I’ve tested the concept that even a hastily prepared loaf of bread is better than none at all.
When I got home from work on Wednesday, after having just provided chili and bread for a workplace birthday party, I decided it would be good to start another batch of dough. Now, as any baker knows, once the process has begun, you pretty much need to stay on a schedule or the bread won’t be as good as it could be.
However, the forces of life tend to creep in and the schedule goes awry. Last night I had every intention of baking the bread, the oven already set to 550. Then one thing led to the next, got too tired, and headed up to bed. Around 4 AM this morning, I came down to an oven, still at 550 from last night (oops!), and the dough well proofed in my large ceramic bowl.
It was time to either put this bread in the oven or forget the whole thing. There wasn’t enough time to scale and shape. So, I basically just divided the dough into reasonable sizes, did the best I could to shape them without degassing, and slid them into the oven in two batches.
And once again, the baguettes wouldn’t win any prizes for looks, but they taste just wonderful. A very nice crumb and crust.
Sometimes it pays to just put the dough in the oven and see what happens.
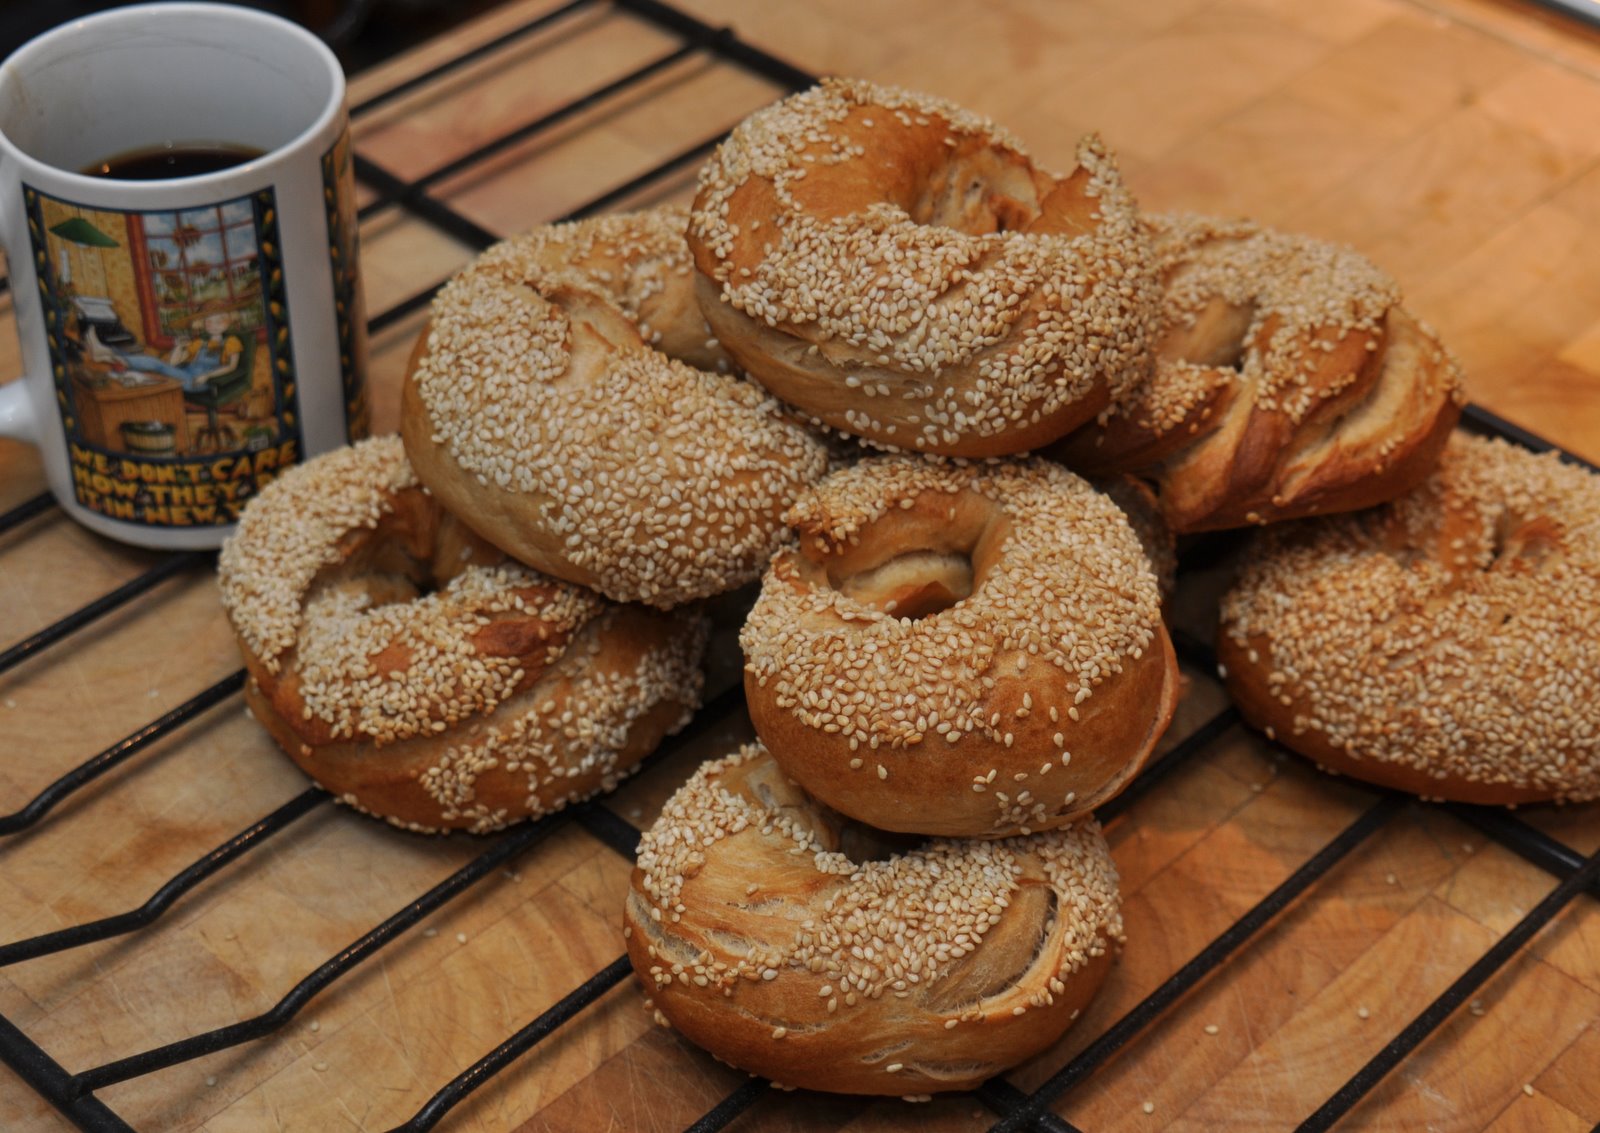 Back in the day, my mother was a nurse in Miami, Florida. My dad would fly down there periodically for a visit and on his return trip, he’d sometimes bring me a couple dozen very good bagels. I remember one time in particular, he not quite understanding the allure of a well made bagel (or any other kind), and with his suitcase nearly full, he managed to flatten two dozen bagels to the point where they looked like frisbees. But we enjoyed them anyway.
At that time, before the Internet and the plethora of exellect baking books available, I thought making a bagel at home was impossible. There must be some magic to it, or why wouldn’t everyone do it?
Which brings us up to this morning. I had these bagels already formed and in the refrigerator for an overnight ferment. I took them out and put them on the kitchen table around 3 AM so they’d be at the right temperature for the boiling phase. And then I overslept.
I came downstairs to find the bagels were so overproofed, that I couldn’t even pick them up. There was nothing else to do except roll it all back together again, divide, and reshape. By this time, I already had the water at full boil and the oven was up to temperature. I had no idea how these would come out, if at all.
This once again illustrates that even when you make a few mistakes (adding too much salt, not being one of them…), home baking results in a product that is very difficult to find at the grocery store. Here in Kansas City, and in many other large communities, it is quite possible to find a decent bagel. But even with the mistakes I made this morning, I really think these are better than anything around here.
The malt syrup used in this recipe is available at Whole Foods. I used a pretty standard hydration and the formulation and methods (well, sort of…) from Peter Reinhart’s, Artisan Breads Every Day.
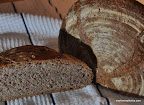
 This evening I baked a boule with dough refrigerated overnight. The flour mix was 57% Hodgson Mills Whole Wheat, and a 1/4 cup (3.8%) of Bob’s Red Mill Vital Wheat Gluten, with the balance made of my standard Eagle Mills flour from Costco, with a 70% hydration. The final proof was done in a banneton.
I am reasonably pleased with the result, however, some larger holes were anticipated. We’ll be having this bread with soup this evening with some left over for sandwiches or toast in the morning.
We’ve all heard this before: “Let the dough rise until it is double in size.” Well, how much is that?! When I look at a lump of dough, it is  sometimes hard for me to remember how big it was originally… especially when it is in a rounded bowl.
Notice these square containers permit visualizing the level of fermentation. And you can immediately see when it is double in size… or more! If you plan on getting a couple of these, keep in mind, if let unattended, it could easily triple in volume. So get one that is big enough for your needs!