Author: kcjam

  • Dough Containers

    These convenient food containers were selected for a couple of reasons:

    • They are food safe.
    • The lids keep in the moisture but they are not air-tight.
    • They are graduated for convenient reference.
    • Translucent to visualize rising activity.
    • Square footprint for more efficient storage.

    These containers are listed among other tools used for baking in the right-hand column of this page.

  • Fibrament Baking Stone

    One of the principles of artisan baking is to have a hot oven. Most ovens do not exceed 550 degrees and that is good for most of the loaves I’ve been baking. For thinner bread products, such as pizzas, pitas or focaccias, it would be better to have even a hotter oven, if you can get it. However the ordinary home oven, even pretty expensive ones, are not going to get you there.

    So, what to do? One option is to install a wood burning oven in your kitchen or back yard. No matter how you slice it (excuse the pun…) that is expensive, if not impossible in many situations. But with that type of oven you can get temps in excess of seven or eight hundred degrees.

    For those thin products, you also have the option of baking on a grill which, by the way, is a lot of fun. Some grills can approach those temperatures. But, again, that isn’t often the best of solutions for a number of reasons.

    So, the next best thing to getting to those temperatures, is to retain the maximum temperature for as long as you can. The key to that is to have a large thermal mass to hold that heat in the oven as you open and close the door. For this reason, you’ll see a lot of baking stones sold in places such as Bed, Bath, and Beyond. Most of these are round and just a little bigger than a pizza, and frankly not all that thick (low thermal mass).

    So, here is the stone to beat all stones for home (or commercial) ovens. I bought one of these a few months ago, and have since purchased them for some of my baking friends. Wow, major heat retention! Each stone is 3/4 inches thick and if you get one sized right for your oven, you should be able to bake a 2 or 3 loaves at a time. You can leave it in the oven nearly all the time (I have left it in during the cleaning cycle, because I forgot to take it out. But I’ll probably take it out in the future. The manufacturer says you can leave it in the oven with certain cautions.)

    Make SURE you understand what size to get before you order it. The one I got is $70, but MEASURE before you order.

    I’ll be buying a new oven soon, probably this week as a result of a kitchen remodel, and I’ll be getting another one of these for the second oven (double wall oven). And one of these days, I’ll get one for the gas grill also.

    This is a good product. Shipping is included and arrives generally within the week.

  • Notes On Flour

    As I have stated in previous posts, the flour I’ve been using is from Costco. It is:

    1. Unbleached
    2. High in fiber (a large percentage of whole wheat)
    3. Inexpensive
    4. Bakes into a nice loaf
    5. Tastes good
    So, what is this mysterious flour? It is called “Eagle Mills” which is manufactured with a specially ground flour (extra fine whole wheat) called Ultragrain®. You can learn more about it at this website, including where to buy it. Costco has it packaged in two 10 lb bags.
     
  • Methods from Jeff Hertzberg and Zoë François

    Here is some information worthy of a repost. I have their bread book. They also have a number of YouTube videos. This one is from Mother Earth News.

  • New Cast Iron Pot Baking

    I tried a couple new tricks with this batch. First, I bought a new cast iron dutch oven the other day, and I’ve been dying to try it out. I believe it is a new model in the Lodge line-up. It has a lid that doubles as a skillet. I got the 5 quart model from Amazon.

    Second, I used 500 grams of my standard Costco flour and 500 grams of Hodgson Mill Organic Whole Wheat less the 1/3 cup of Bob’s Red Mill Vital Wheat Gluten that I added to make 1 kilogram total, with a 75% hydration. The Vital Wheat Gluten is often recommended for course whole wheat flours to help hold in the gases during fermentation. I didn’t do the window pane test, but will next time. I’d like to try this VWG for pizza dough.

    I made the dough right after work yesterday and let it set on the counter, covered in a plastic container. I heated up the oven this morning around 3 AM and baked the boule first at 475 (convection) in the pot and after 20 minutes removed it for browning. It didn’t rise as much as I expected. I haven’t cut into it yet, but I’m sure it will be good. But could be better. I may use more dough next time. This was roughly half of the whole batch.

    I formed the epi last, and it had more time to rise. It came out fantastic. I had a hunk of it for breakfast with a second cup of coffeee. The picture only shows about half of it. I used the rest of it for sandwiches for lunch. Is it noon yet?

    Posted by Picasa
  • Ugly Bread

    People have been making bread since the stone age. Of course, with better equipment and knowledge, it gets better all the time. Up to a point. Most of today’s store-bought breads, made in factories across the country, sliced and ready to eat, are barely recognized as food to the artisan bakers, let alone a good source of nutrition.

    With our busy schedules, an easy solution is to stop at the grocery store and pick up a loaf when you didn’t plan ahead. A loaf of decent bread costs anywhere between $2 to $5. Further, it gets stale quickly and has little flavor.

    Last week I made some dough and didn’t follow through according to best practices. I didn’t have the right size bowl available, and it was too large to fit in the refrigerator, especially along with all the other stuff already in it. So, I left it on the countertop covered with plastic wrap which is acceptable for reasonably short periods of time. I can only say I got lazy and didn’t plan ahead.

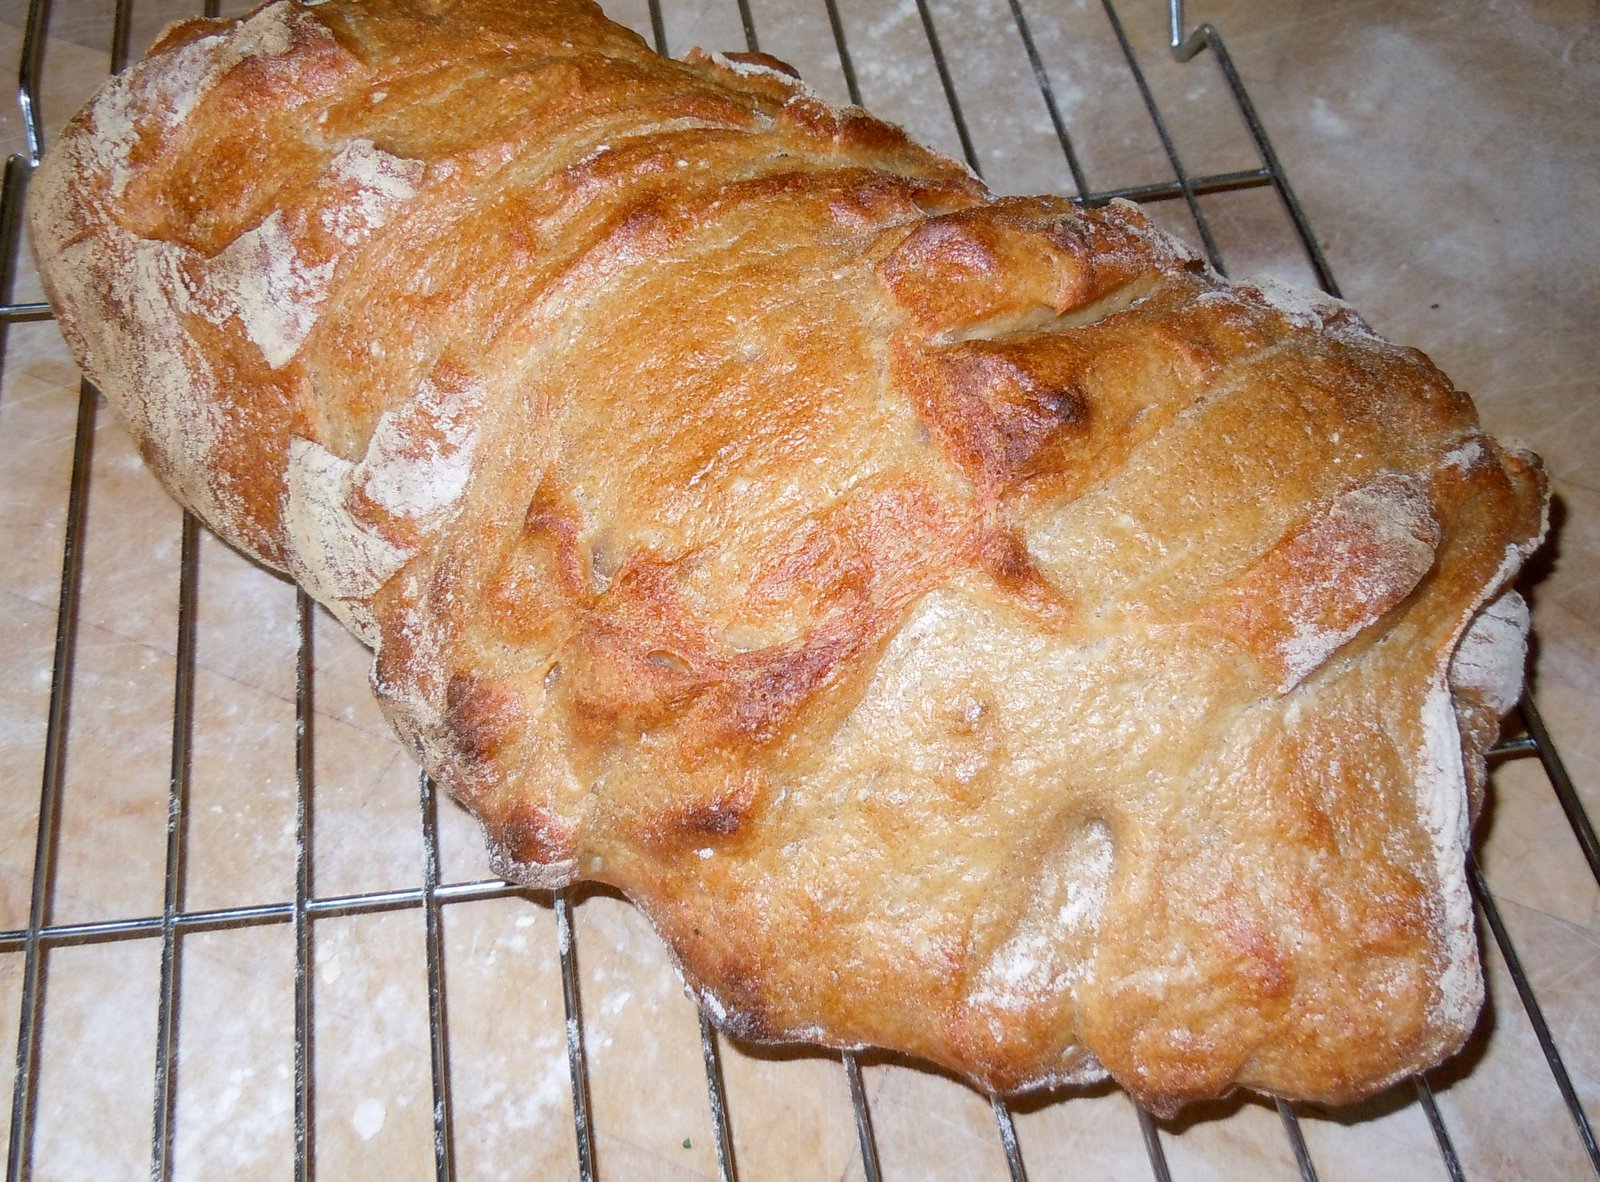
    When I returned from work, I found the dough busting out over the top of the bowl and generally making a mess. I punched it down and split it into two batches. With the first batch, I made some pita bread and a couple of small baguettes. They didn’t come out too badly, but certainly nothing worthy of a magazine shoot.

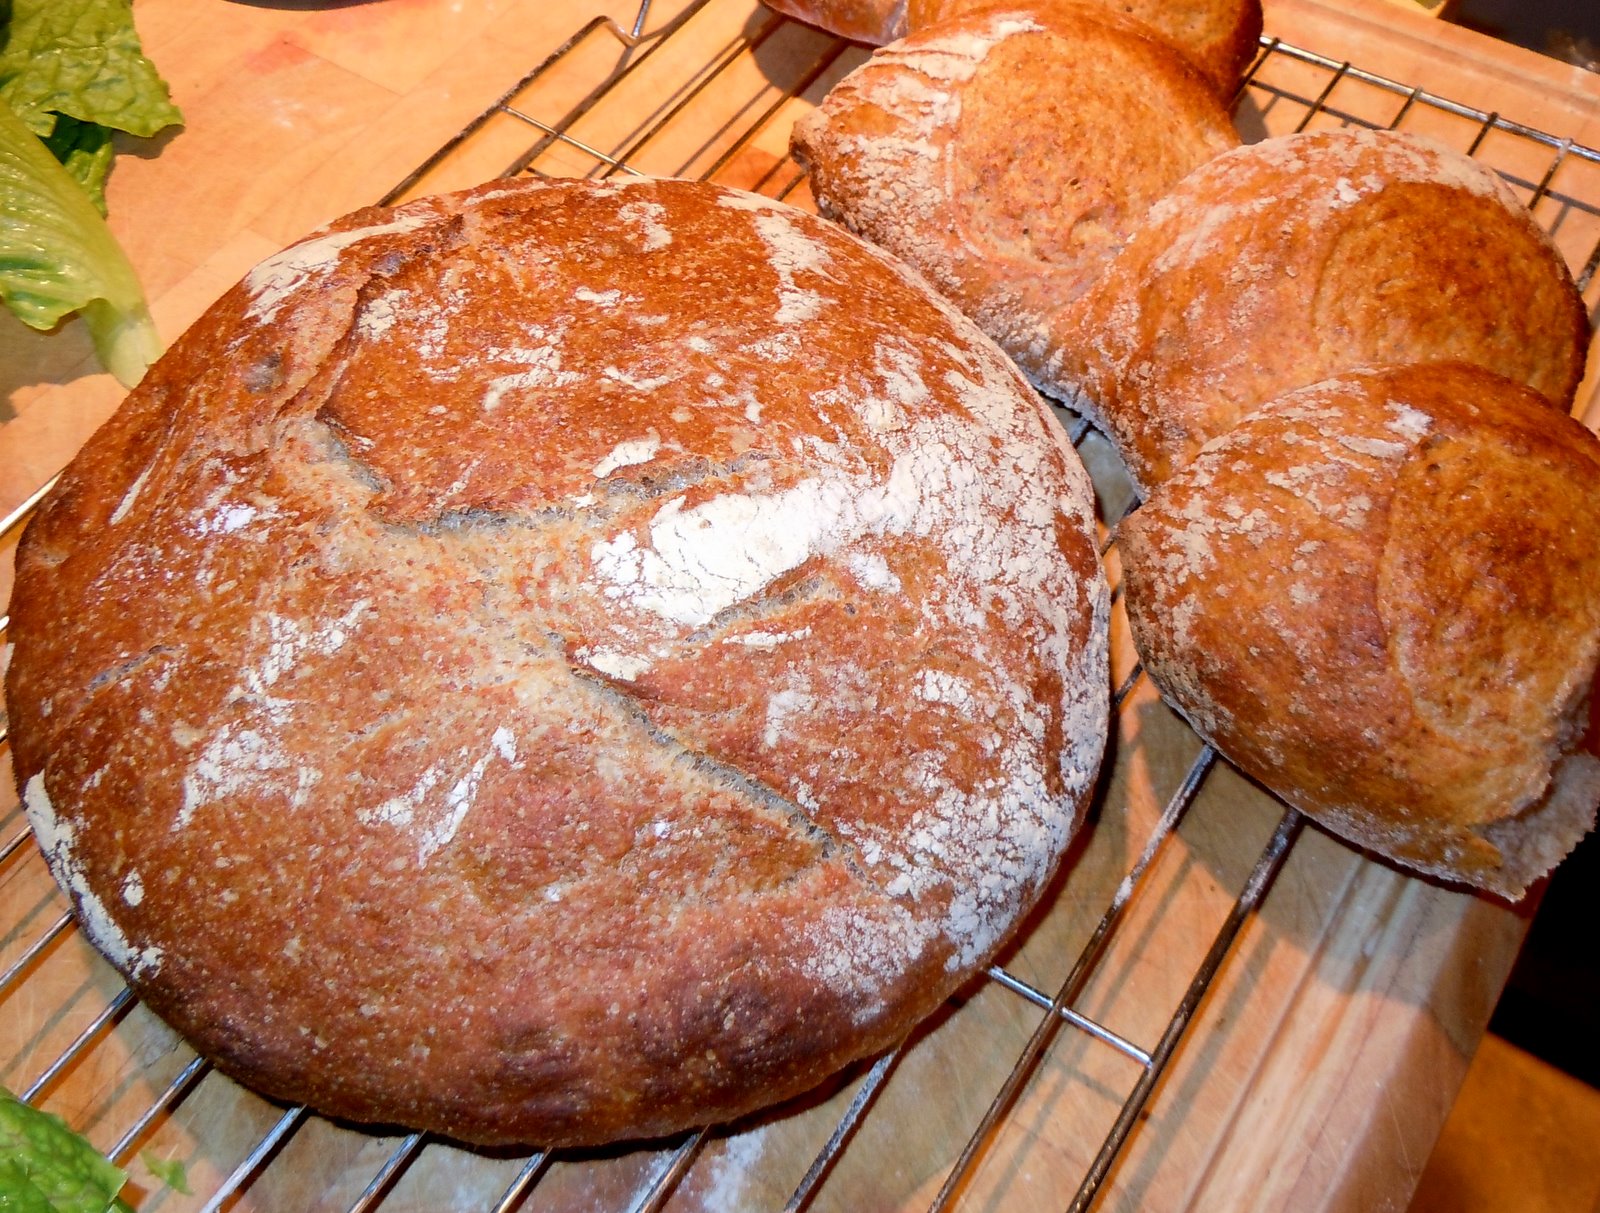
    Yesterday afternoon, we decided on spaghetti for dinner and I thought I’d try to use the remaining dough, now a week in the frig, to make some bread for dinner. I mixed it with a fresh batch and after a couple of hours, it was somewhat usable. The picture here is of the remaining loaf. We ate most of the first one and had the rest of it toasted this morning. It was better than any bread you can buy in the store. But was it ever ugly!

    So, here is my point. People have been making bread for 12,000 years. Without thermometers. Without kitchens. Without electric or gas ovens. Without precise measuring devices or fresh water on tap, without salt, without store-bought yeast. On rocks. Sure. The first breads were not much more than a paste poured out onto a rock and left in the hot sun. But for hundreds of years, people have been making great bread without any of the conveniences we have today. And they were great, nutritious breads.

    Today we have cookbooks with color pictures and step-by-step instructions. We have YouTube videos that show the entire process. And you only need four ingredients, flour, water, salt, and yeast. Four (4). No more. No less.

    • 3 cups of flour
    • 1 cup of water
    • 1 1/2 teaspoons of salt
    • 1 teaspoon of yeast.

    That is about thirty cents worth of stuff. Maybe less.

    And yet, there is this fear of failure. What if I don’t mix it right? What if it doesn’t rise? What if? What if?

    With today’s quality ingredients available nearly everywhere, you really can’t get this wrong. It might not be perfect. It might be pretty ugly. You might not think it looks anything like what you’ve seen before. But, it will be better than anything you can buy in the store!

    Make a batch of dough today. Make a loaf of bread tomorrow.

    You’ll love it. And you’ll be loved for it.
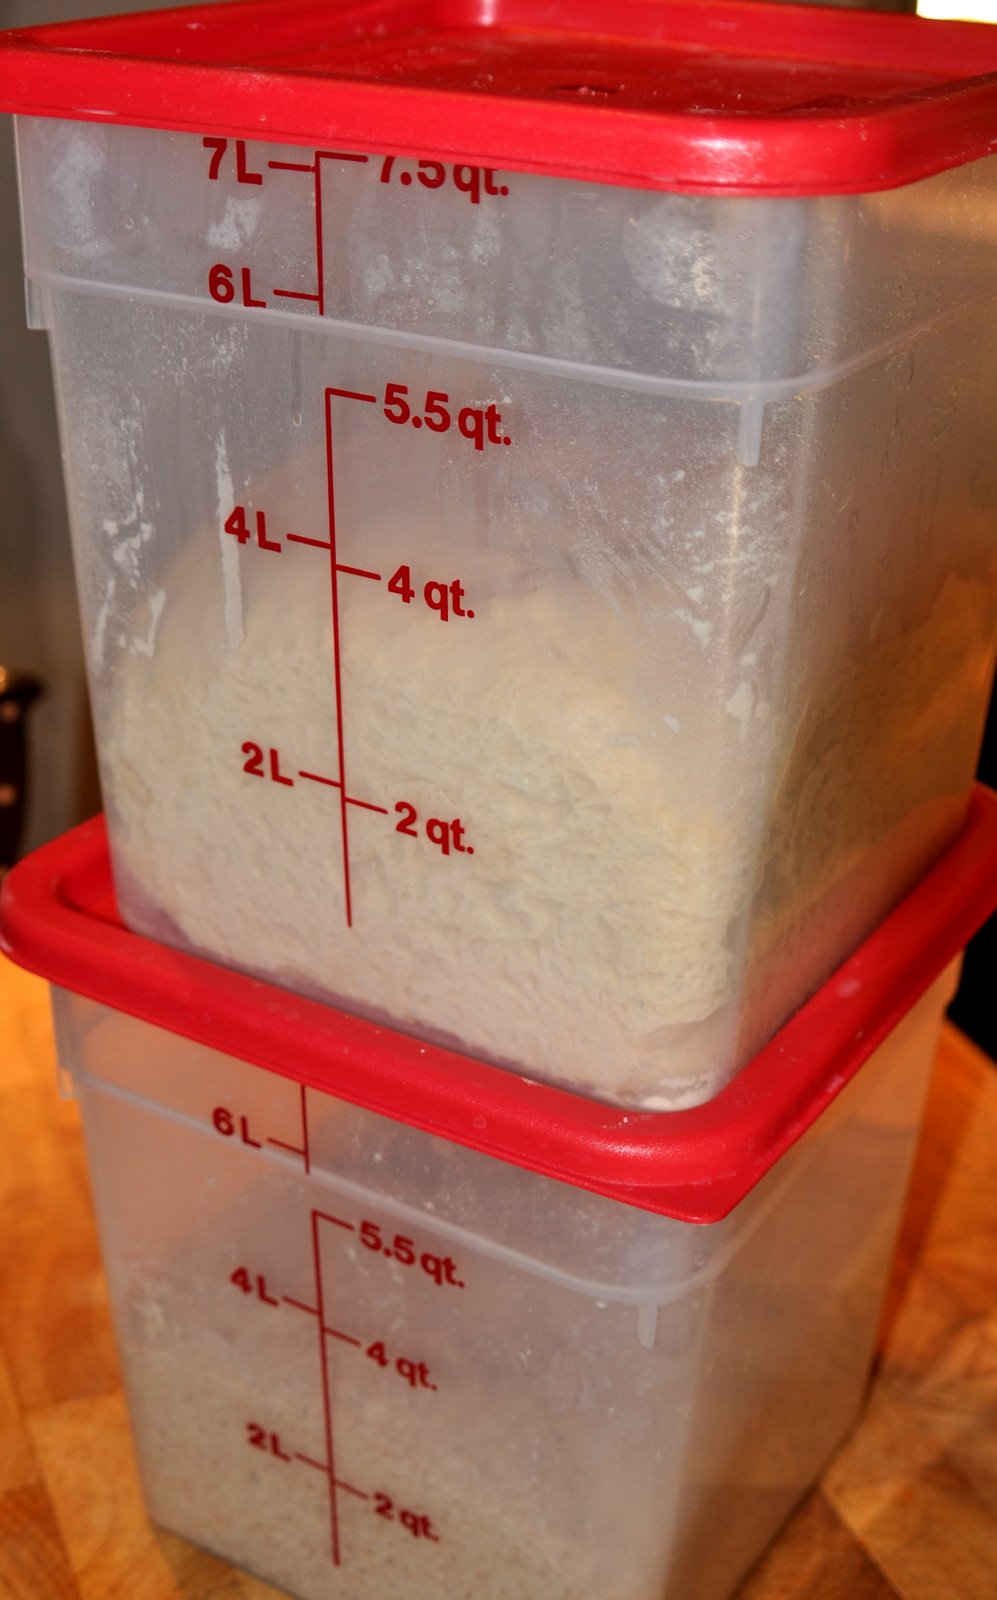
    Posted by Picasa
  • Rosemary Potato Rolls

    These rolls are based on a recipe I found at The Fresh Loaf blog, an excellent resource by the way. I used half vanilla almond milk and half plain soy at 65% hydration and substituted olive oil and Earth Balance for the butter. With a 1000 gram whole wheat flour base, I added about two heaping tablespoons of dried rosemary leaves, and two mashed Yukon Gold potatoes, previously boiled and cooled with the skins. I also added about two tablespoons of agave syrup and a teaspoon of fresh ground black pepper. They were baked on a sheet pan, lightly sprayed with EVOO, in a 450 convection oven, fully hydrated for the first 10 minutes by pouring hot water into a very large cast-iron skillet.

    In another 6 minutes (but who’s counting…) we’ll be having these for breakfast with some… guess what! Jam!

    Posted by Picasa
  • Cast Iron

    Regardless of how well you form your rolls, hydration is key. I used a cast iron skillet this evening to produce these rolls. They came out very well.

    Posted by Picasa
  • Kaiser Rolls


    If I were going to teach someone to bake bread by giving them some “how not to” lessons, today would have been a good day to begin.

    I made the dough yesterday by using what I learned from reading three different recipes, and then used none of them. I substituted egg-replacer for eggs, and almond milk for cow’s milk. Then I miscalculated the measurements of the sugar and salt by an order of magnitude and compensated for the inadequate amount by guessing.

    Next, while preparing the evening pizza, I forgot that I left the dough sitting on the kitchen counter top covered with an “unbreakable” Corelle porcelain plate.

    I woke around 3 AM wondering what I had done with the dough. If I left it on the counter top, it probably leavened to the point where it would lift the plate right off the bowl.

    Sure enough, I turned on the kitchen light to see tiny shards of broken porcelain all over the floor, and the dough looked like The Blob That Ate Kansas City. I was more upset about the dough than the plate.

    Anyway, I cleaned up the mess and punched down the dough so it would re-hydrate, turned on the oven and eventually shaped the dough into small loaves placed on an oiled 13 inch pizza pan. After an hour or so of final rise, I put them into a 425 convection oven for 20 minutes and this was the result.

    They’re cooling now. Mary and I sampled one and declared it was quite suitable! Next, Kummelweck rolls!

    Posted by Picasa
  • Today’s Bagel is Brought to You By the Letter C

    Baking is so much different than cooking. With cooking, you can pretty much throw anything into a pot, let it simmer, taste it now and again, maybe with a glass of wine or two, and adjust the seasoning as you go along. With baking, you really need to focus on technique, and precise measurements.

    Yesterday I made the dough for baking some bagels this morning. Reinhart suggests the following steps:

    • Mix the dough
    • Let rise
    • Shape into bagels
    • Proof
    • Retard in the refrigerator
    • Just before baking, bring them up to room temperature
    • Boil
    • Bake

    Sounds pretty simple. However, I did it differently. Given that I needed to get out of bed at 3:30 to get them baked in time for work, I elected to leave the dough at a cool room temperature (about 65 degrees) for the night. So, basically, I’ve let the dough proof quite a bit before shaping them into bagels early this morning.

    First off, the bagels are cinnamon raisin with walnuts. My sister likes walnuts in her bagels. (She isn’t anywhere around here, so what difference that makes, I’m not sure…) As a result of the overnight proof, the dough was quite soft. My attempt to roll the dough into a “snake” was an issue because the walnuts and raisins created holes and cavities in the dough. As a result, I basically squeezed them into shape. The wrap-around-the-hand-and-roll-together step wouldn’t work. So, again, the ends sort of got squeezed together.

    During the boiling and baking process, half of the bagels separated at the seam, forming the letter C as a result.

    I’m reasonably confident they will taste OK. But next time, I might actually follow the directions.