Author: CJ

  • No-knead Pizza

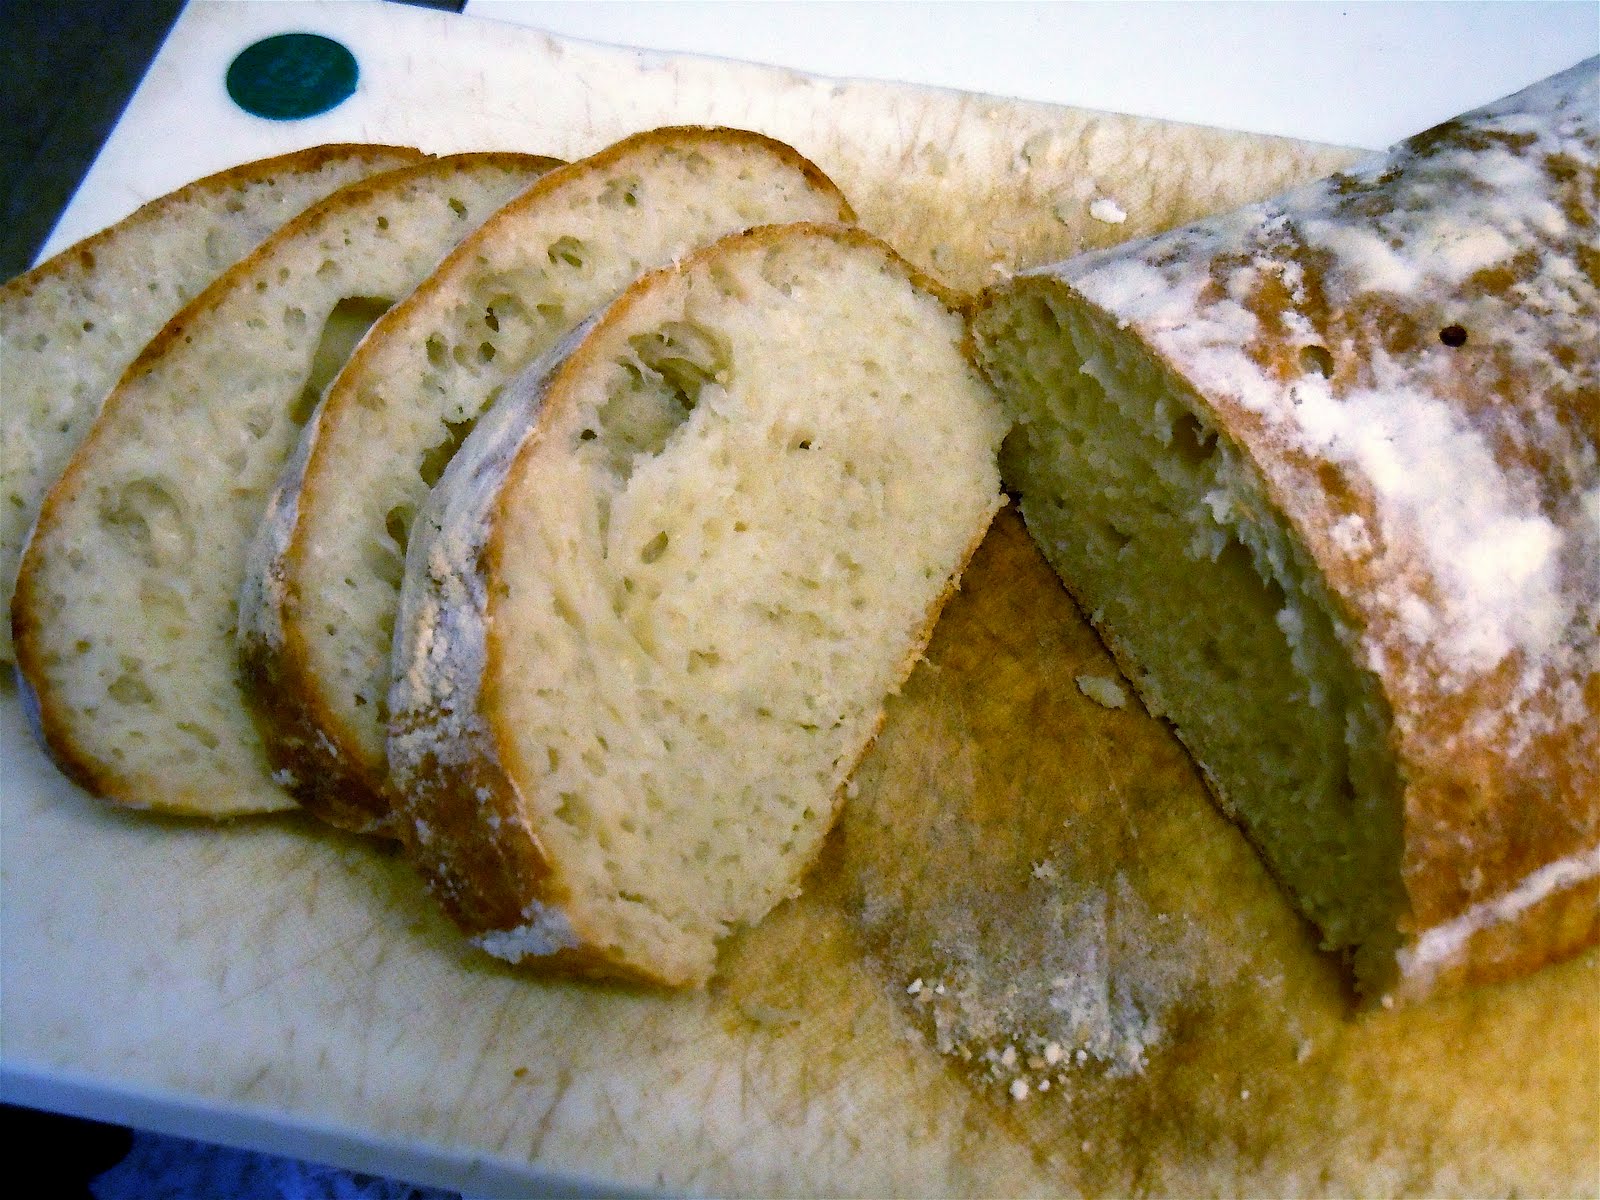
    I’ve discovered that the original no-knead recipe featured on this blog some time ago is also great for pizza dough.

    The pie pictured here started as a lump of no-knead dough that I spread out into a crust shape after 10 or 11 hours of fermentation. I did all the spreading right on the pizza peel pictured above. I used liberal amounts of flour – stretching the dough into a disc shape, sprinkling flour across the top, flipping it over, repeating this process until the crust was roughly the same size as my work surface.

    The reapplications of flour were necessary because as the dough is spread out, the non-floured inner dough is brought to the surface and tends to stick to the peel.

    I wasn’t sure how this was going to work out as it was my first time making pizza this way. My traditional method has been to use a dough with a much lower hydration that is spread out on a cold greased pan – that also works well, but it’s a totally different method. When I had the crust fully formed, I jostled the peel a little bit to make sure the dough was sliding freely. It was. So I proceeded to layer on the toppings.

    Unfortunately, I didn’t count on the fact that the added weight (and possibly moisture) of the toppings would increase the coefficient of friction between peel and dough. When it came time to slide it onto the baking stone in the oven, it wouldn’t budge.

    In a somewhat clumsy rescue effort, Jenn helped me slide some parchment paper under the dough. That process tended to dishevel the dough and the toppings a bit, but ultimately, we made it work. And the result was fantastic!

    We tried this again last night, this time putting the parchment paper over the peel first – thank the gods for parchment paper! It worked like a charm, and the crust was first-rate.

    So that’s one more use for the versatile no-knead dough recipe. Enjoy!

  • Steam Power! Part 2


    This is my second loaf using the steam pan method, putting the water in the pan after the dough is in the oven, as suggested; plus a refresher steam ten minutes later. This dough was never in the fridge so it was thoroughly at room temperature when it started baking. Plus, this dough was only about 33% whole wheat. Those factors all combined produced a much more buoyant loaf.

  • Steam power!


    I baked my second loaf using the oven stone this morning, and as I was getting ready to put the dough in the oven, I remembered Dad saying something about “misting the oven.” This is a step I haven’t taken before, and I’ve noticed a couple things.

    First, when I’ve made loaves in the dutch oven – which helps retain more humidity around the loaf when you have the lid on for the first 2/3 of the bake – the resulting crust is…well, quite crusty (in a good way).

    When I’ve made loaves without the dutch oven, either cooking them on a baking sheet or on the oven stone, the crust is much thinner and softer.

    So I thought, perhaps this “misting” step is important for the crusty crust.

    I didn’t have a mister, but looking in Peter Reinhart’s “Artisan Breads Every Day,” I found the author suggested one can also use a “steam pan” to add humidity to the oven. He recommends adding hot water to a pre-heated steam pan (below the oven stone – be careful not to spill water on the stone) just before putting the dough in the oven.

    Since I was in a hurry, and not reading the directions that carefully (like, how much water?) I put cold water into a baking sheet that just happened to be pre-heated under my stone (lucky break, I often store pans in the oven for lack of cupboard space). It created quite a blast of steam and warped the pan so much I thought I might have a spill. (A little more water and the pan un-warped). Then I closed the door and waited another five minutes or so before putting the dough in (should I have done it right away when there was more steam?)

    The bread that finally came out was indeed more crusty – somewhere between the dutch-oven bread and the no-steam/no-dutch-oven bread. Also, I had to let the surface get quite dark before the internal bread temp finally crested 180 with ease – when I put the thermometer in the first time, the dial virtually crawled from 175 to 180.

    After cooling, I cut into the first couple inches. Crust aside, the inside looked good. A bit more dense, particularly toward the bottom, but this was a 50/50 whole wheat dough. I’ll add some pictures soon.

  • Straight from the oven, daddy-o…


    Made the bread pictured here this morning from all-white dough that I’d had in the fridge for a day. 70% hydration.

    Proofed at room temperature for about two hours on lightly oiled parchment paper.

    Slid parchment paper right onto inverted aluminum baking sheet in the oven and baked at 500 degrees for 25 minutes.

    Cooled for 1/2 hour before cutting.

    Final result – nice chewy/creamy texture with large crumb and some good holes. Very soft, but not doughy at all. Thin, soft, well browned crust. Not as crusty as dutch oven loaves I’ve made, but very good nonetheless.